
Hitachi High-Tech
  1. Home
  2. About Us
  3. Project QR
  4. The project process

Process The project process

PLAY MOVIE

Step1Meeting / Design

Meeting

Conducting a mixed online & in person meeting

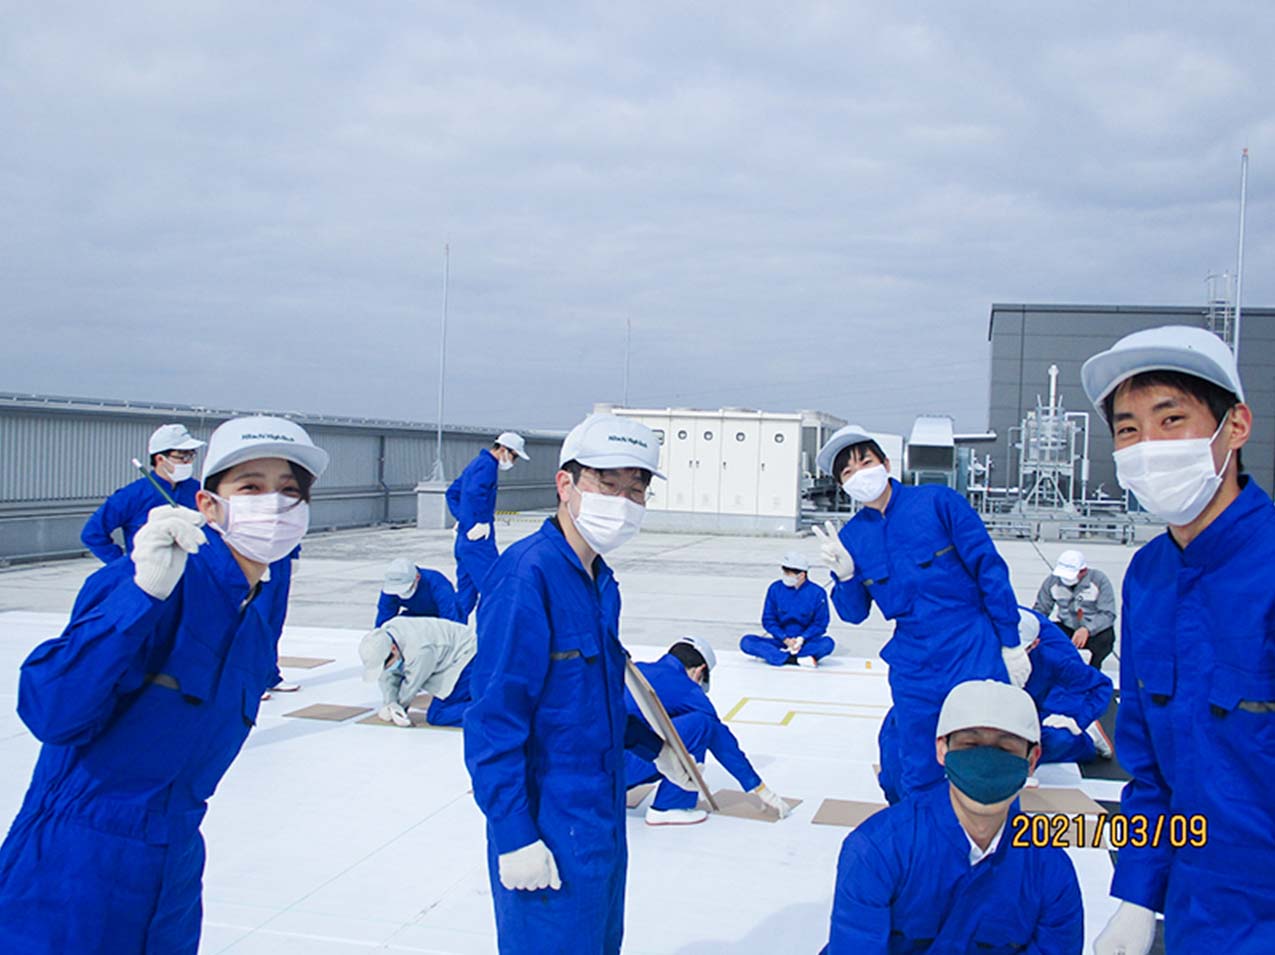
We were divided into the following groups to do the work.

Leader and sub-leader
Overseeing the project
QR Code Group
Overseeing the construction of the QR code
Contents Group
Development of this web page
Filming Group
Filming the project scenes and development video images
Summary Group
Sharing project information through presentations and SNS’s

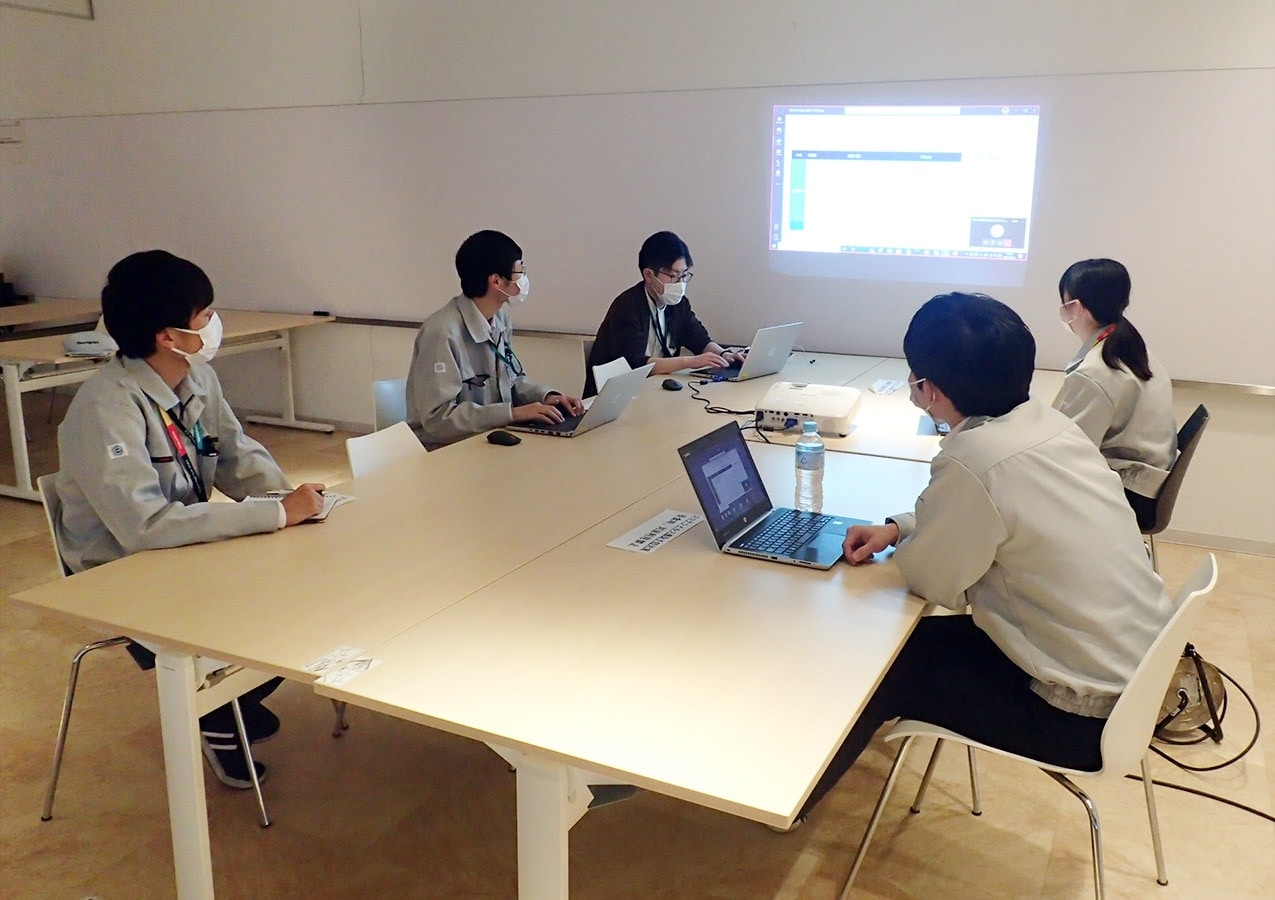
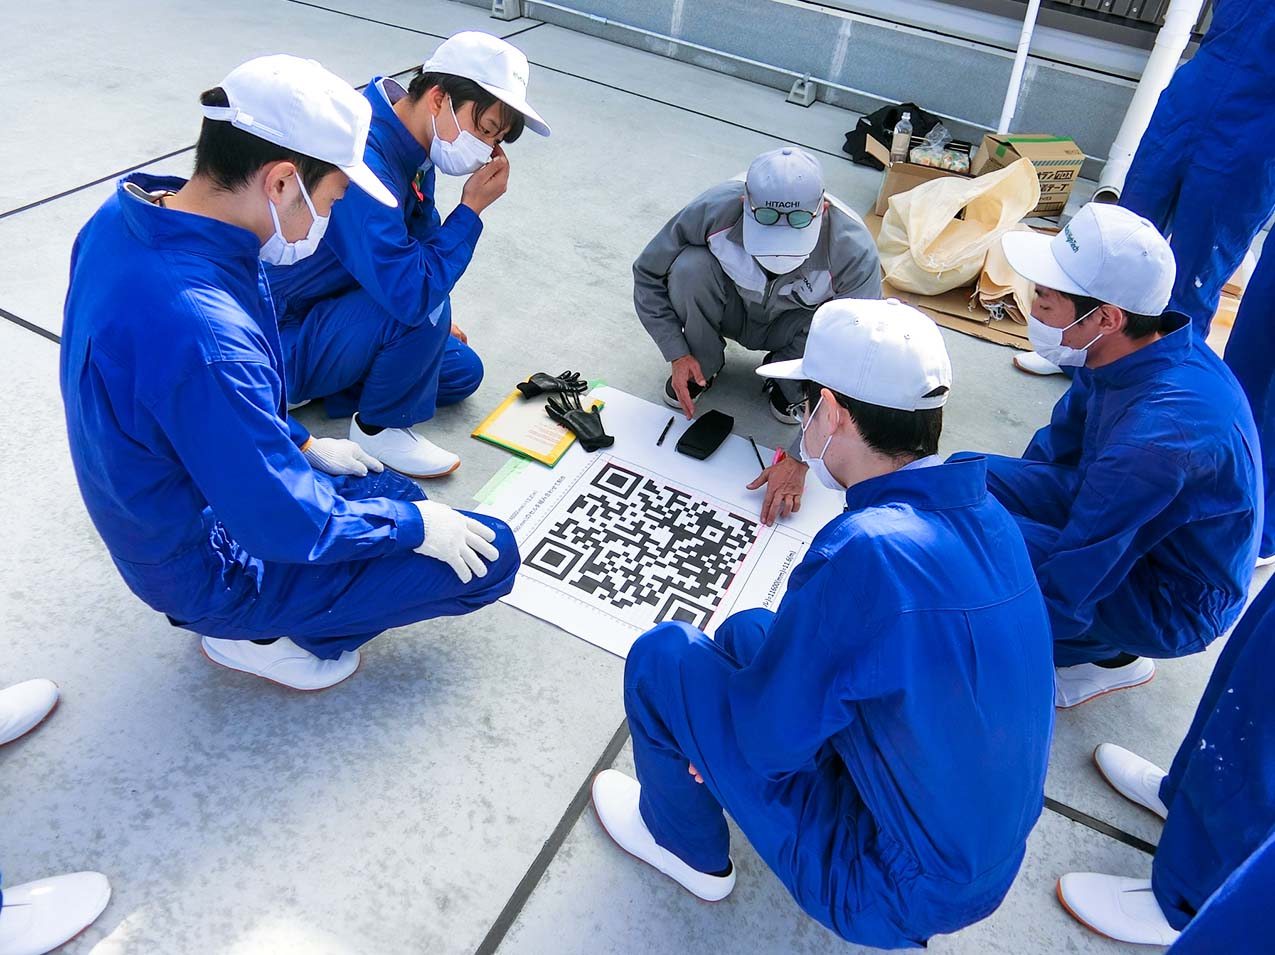
Because we were working from home and business trips were restricted, we considered how to smoothly conduct the project meetings.
We held meetings online, and shared information to each other using the chat function and the cloud.
Although there were some voice troubles during the online meetings, but we were able to properly hold the meetings with members in the office, and those who were outside of Ibaraki Prefecture. During online meetings, we were able to refer to the same documents from our own computers through the shared screen function.

How to construct the QR code

We considered methods of drawing the QR code.

[Examples of possible drawing methods]
Painting
Lining up black and white tiles
Using a combination of painting and tiles
Using waterproof sheeting
Outsourcing to specialists

We discussed these methods by considering factors such as costs (labor and materials), ease of maintenance, and durability (resistance to corrosion and water).
For example, the use of waterproof sheeting wouldn't be suitable due to its lack of durability and its incompatibility with uneven concrete surfaces, from which it would likely peel off. More than anything, we wanted this project to be completed by new employees themselves.
Therefore, we decided to use paint, which is inexpensive, easy to maintain, features adequate durability, and would enable all members to work together from the ground-up.

Determining the URL and number of cells in the QR code

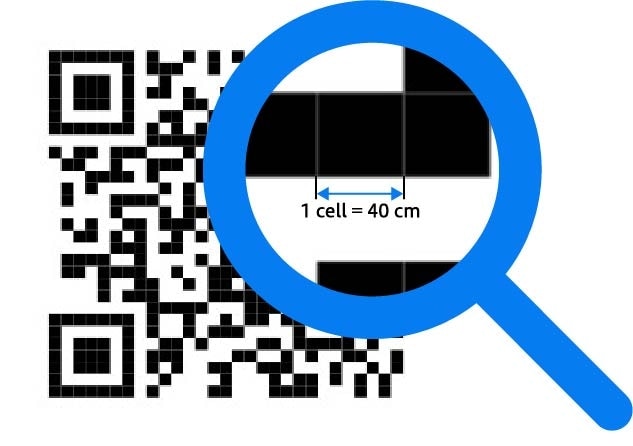
QR codes consist of a combination of small squares (■, □) called "cells".
Based on the resolution of satellite imagery, we determined that a single cell would need to be 40 cm or more for the giant 13.2 m × 13.2 m QR code to be read from the air. Also, the size of cells in a QR code is determined by the length of the specified URL. For example, when we compared the top page of the Hitachi High-Tech website with the page introducing the Hitachi High-Tech Naka site, we found that the former was 40 cm per cell while the latter was less than 40 cm.
If the URL were for the top page of the Hitachi High-Tech website, we determined that the size of the cells would be large enough to use for a giant QR code.

Different number of cells are required!

Hitachi High-Tech HP(homepage)‘s top page
(36 letters)
List of Branches Naka District Introduction page
(79 letters)

Considering how to read the QR Code

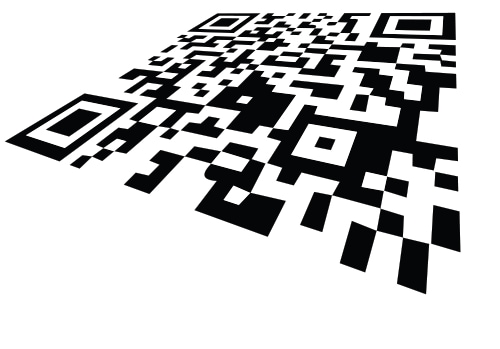
The effects of sunlight and shadows cannot be ignored when reading QR code drawn outdoors. Also, the graininess when zoomed in on an aerial picture may prevent it from being read. We considered such factors that might affect the reading of a rooftop QR code and discussed whether it could actually be read.
We then verified that the QR code could in fact be read despite these effects.

[Verification Details]
We performed image processing using methods such as those shown below to verify that the code could be read in the expected possible conditions.
Blurring through application of a Gaussian filter
Reducing contrast
Applying shadows

After considering the above, we decided to create a giant QR code linking to the top page of Hitachi High-Tech's website using black and white paint.

When viewed with a blur
When viewed with shadows

Step2Application of white paint

Base coating

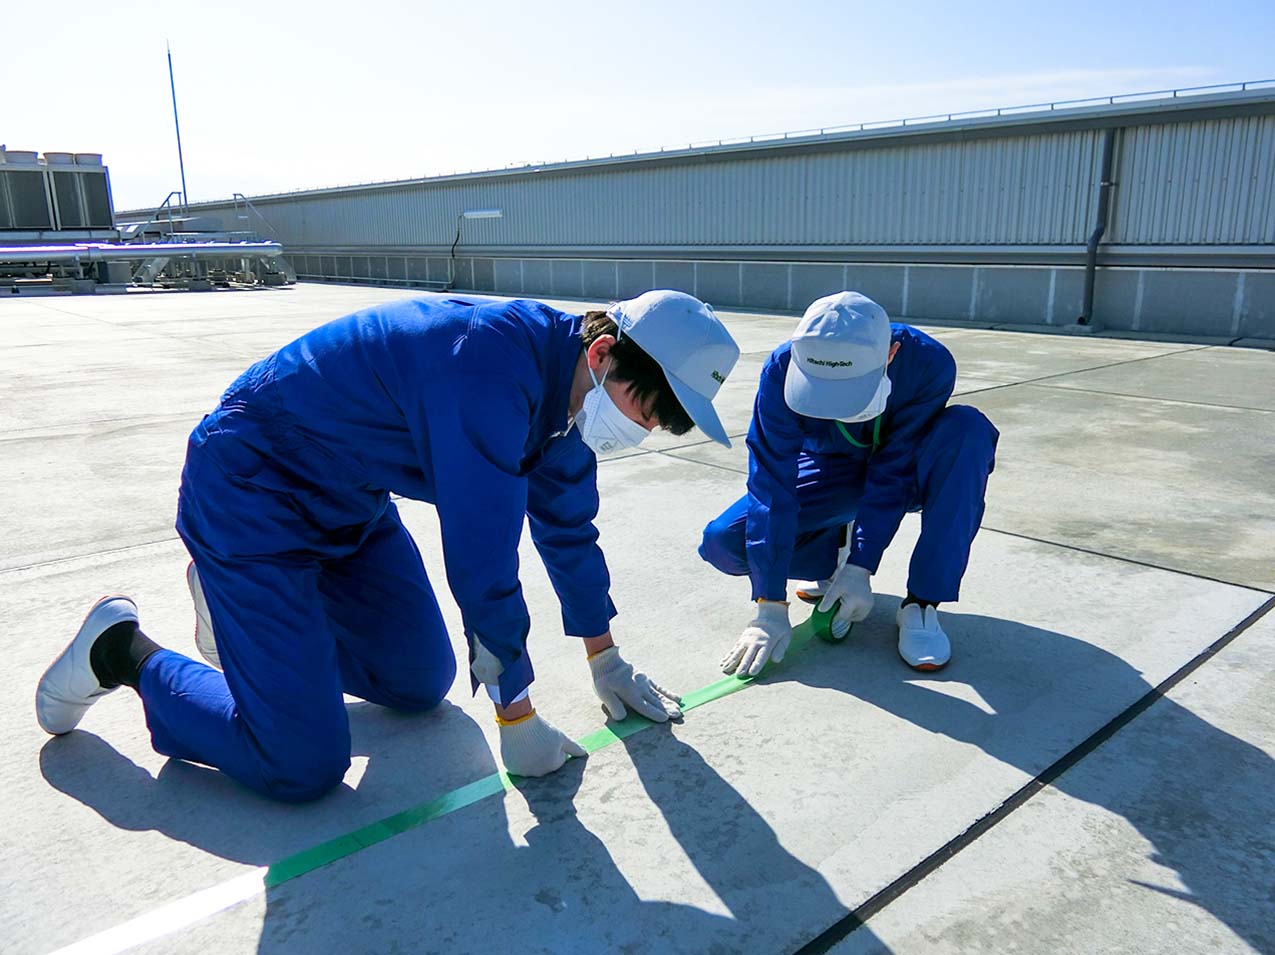
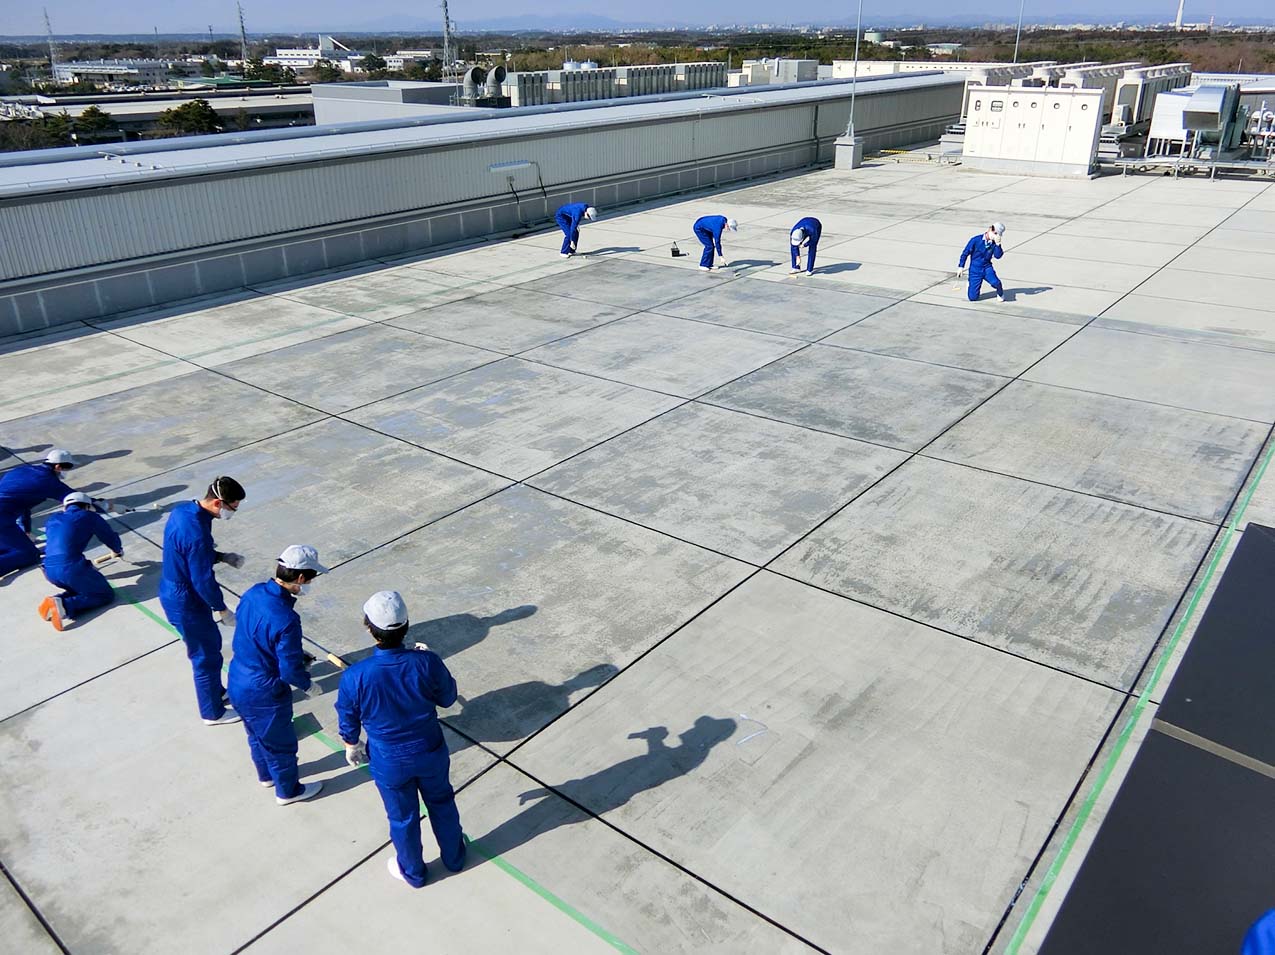
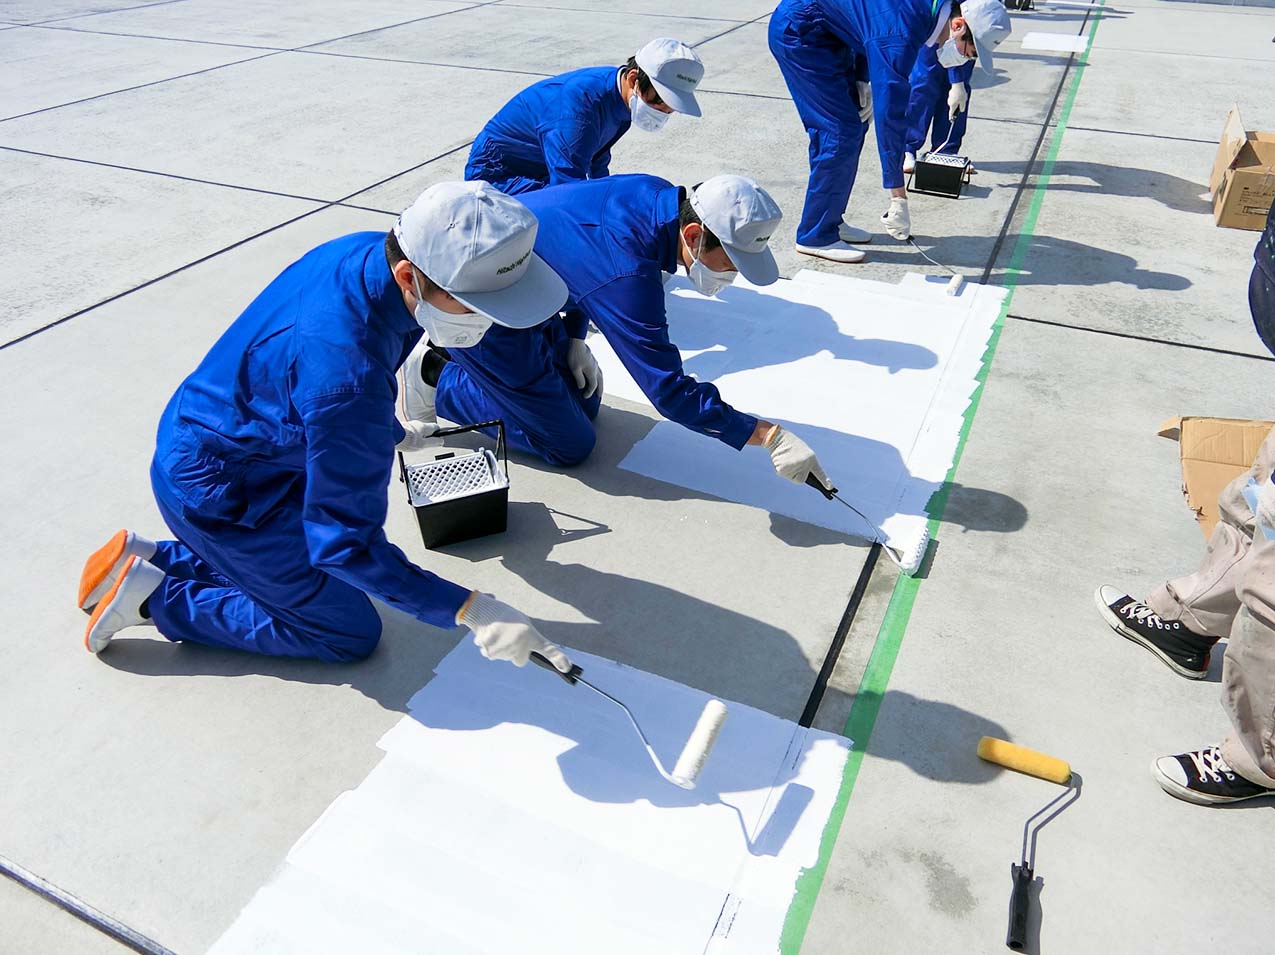
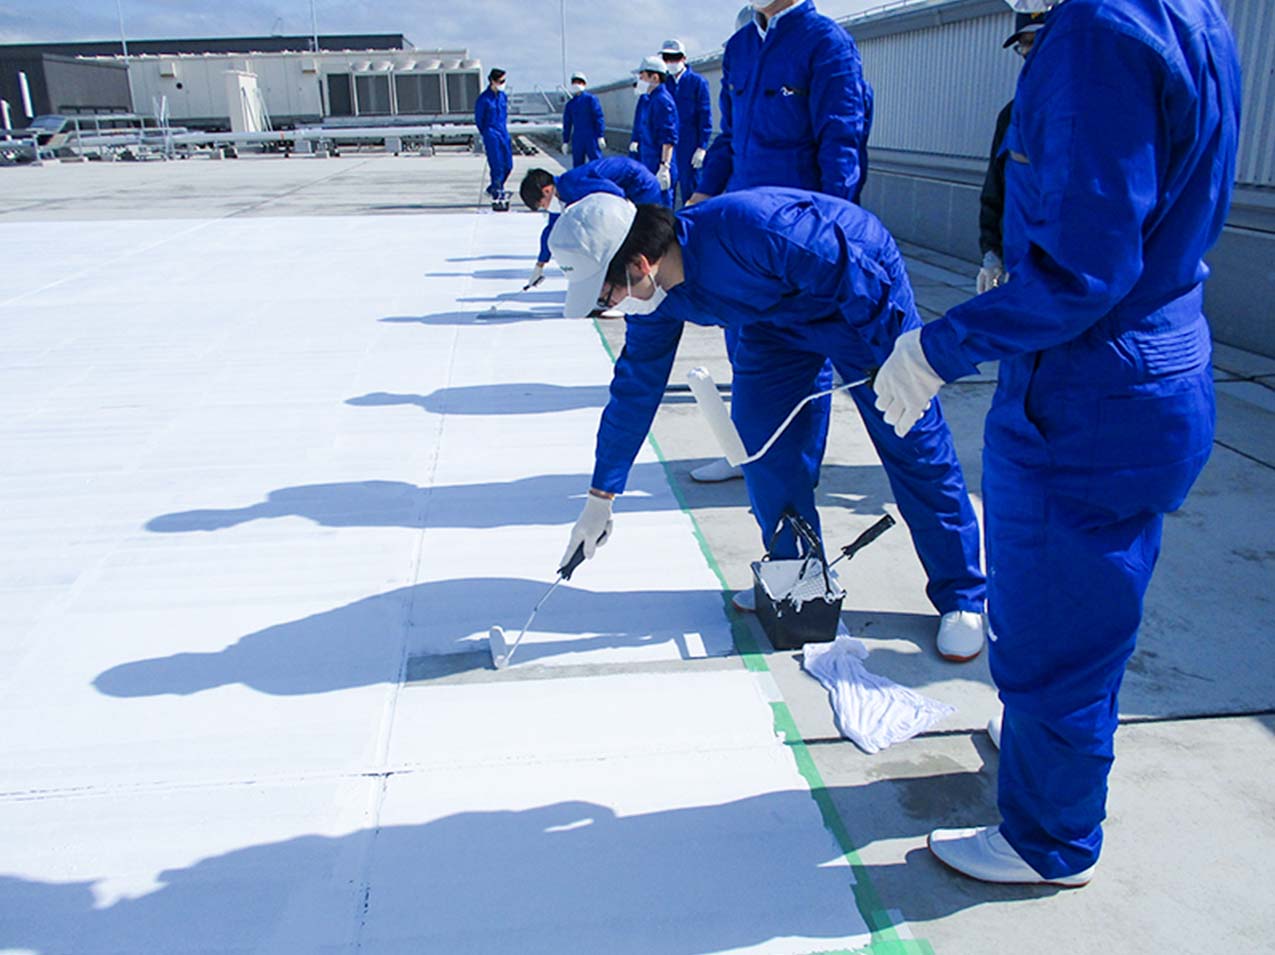
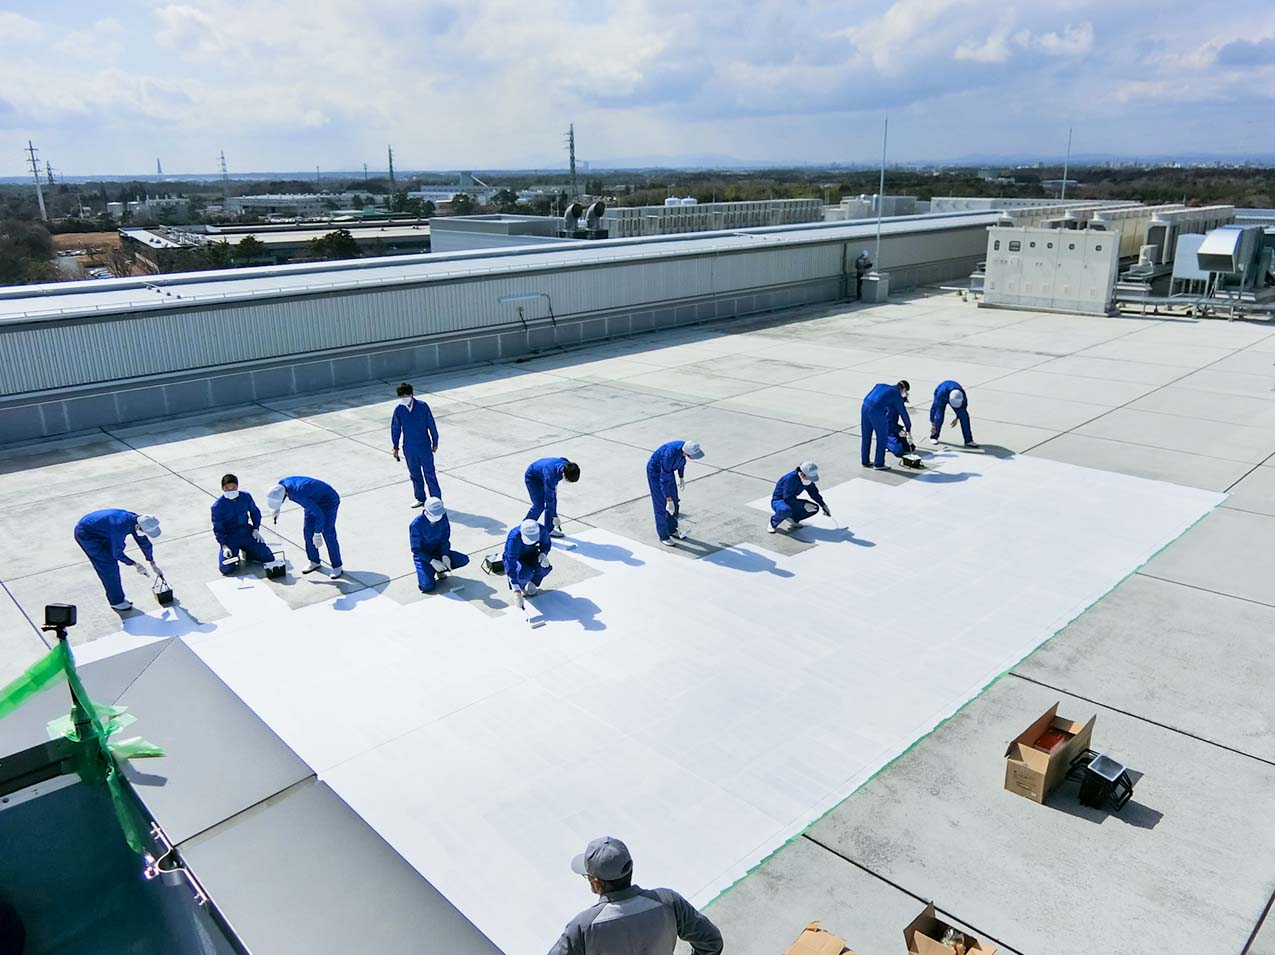
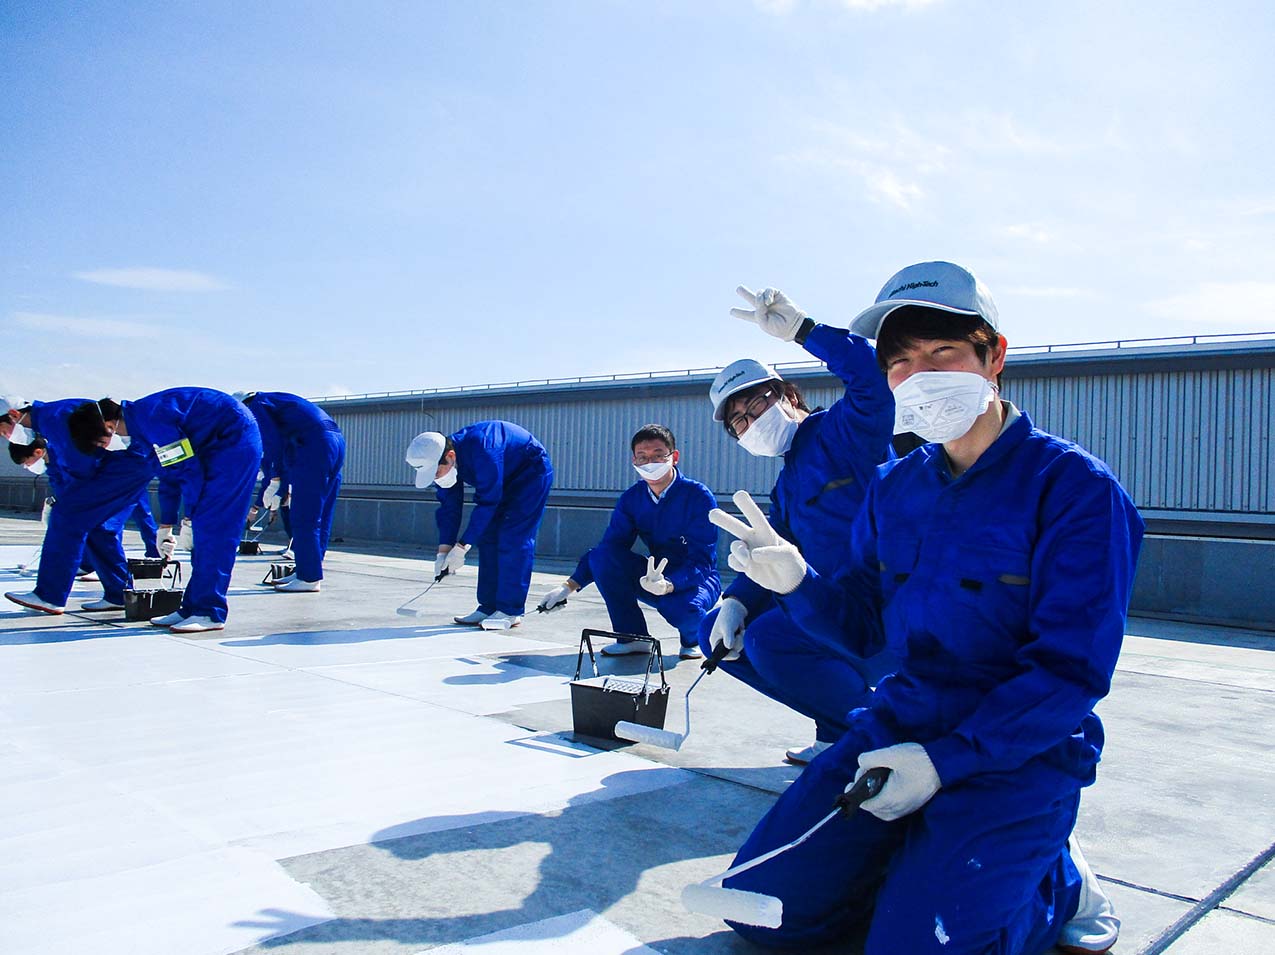
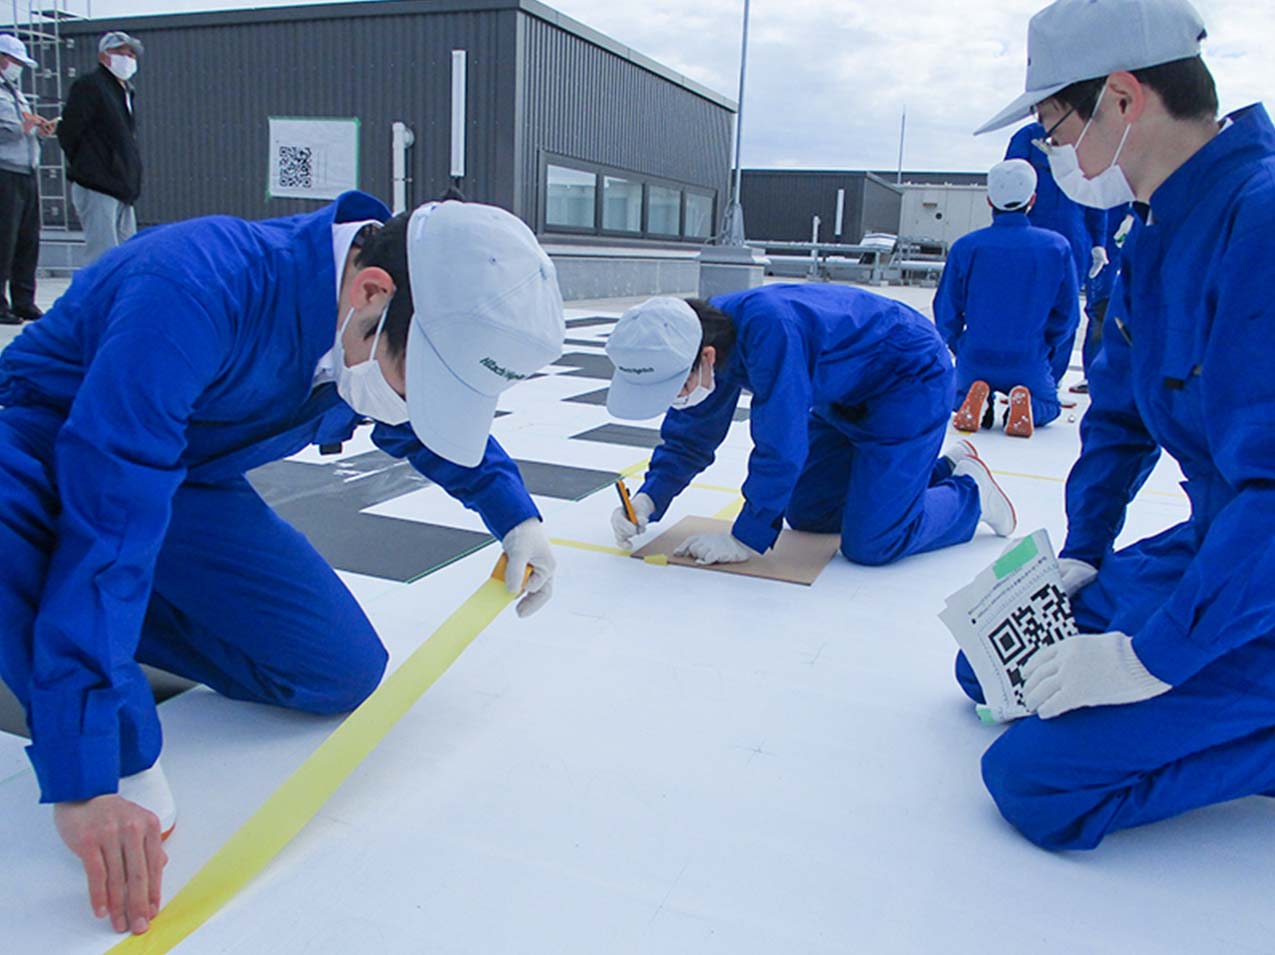
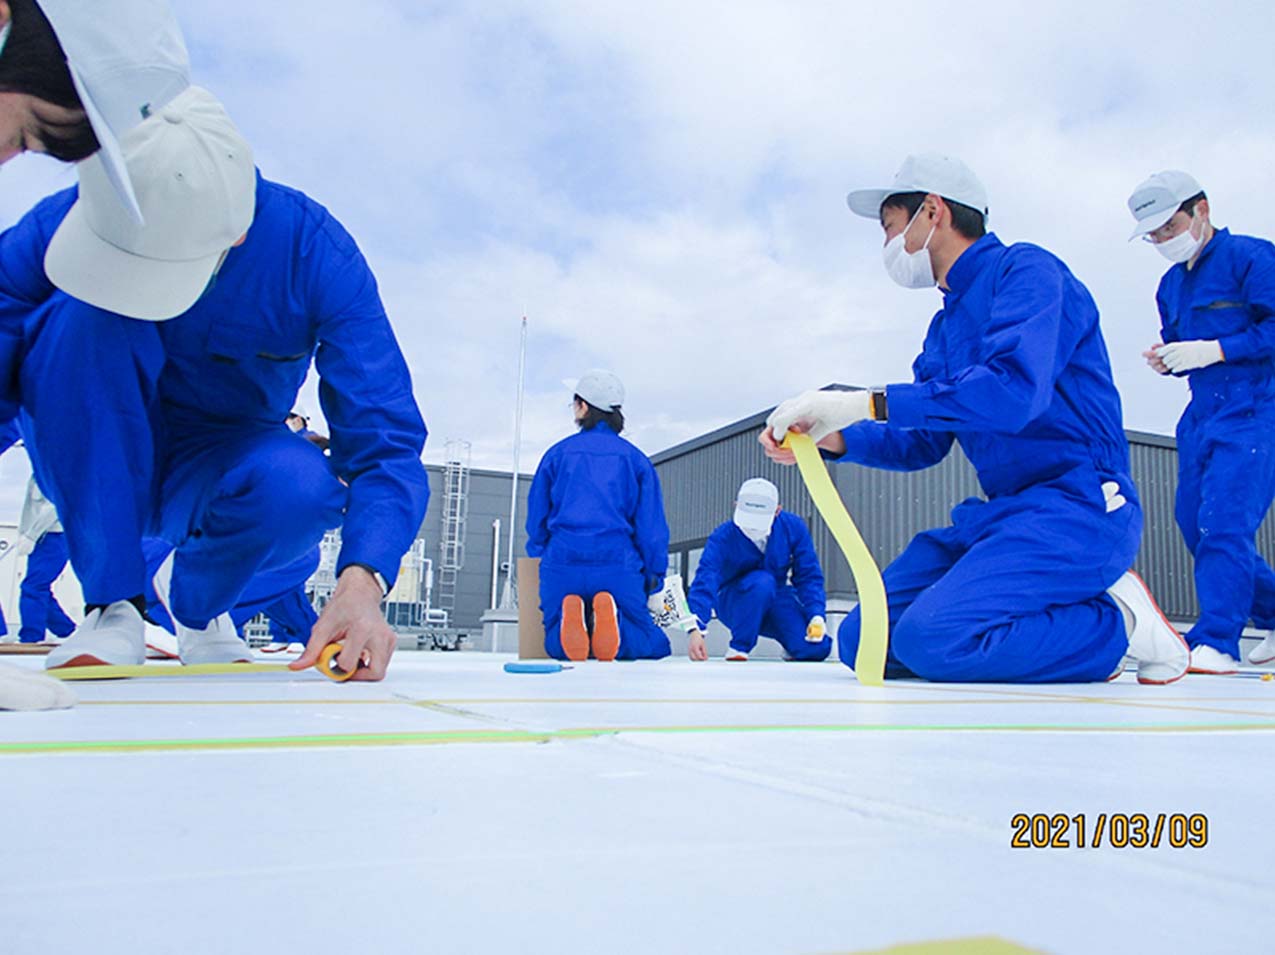
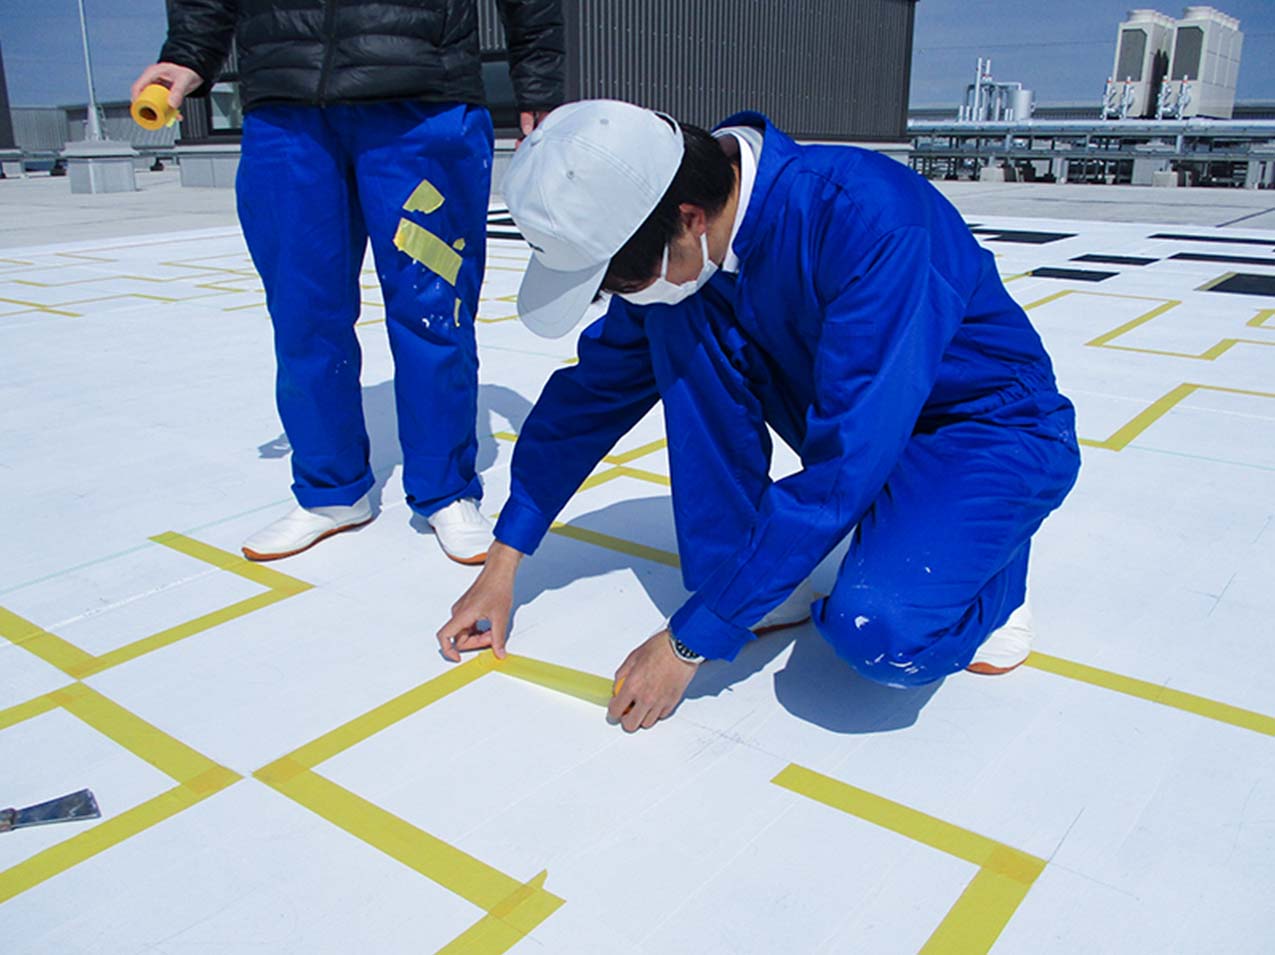
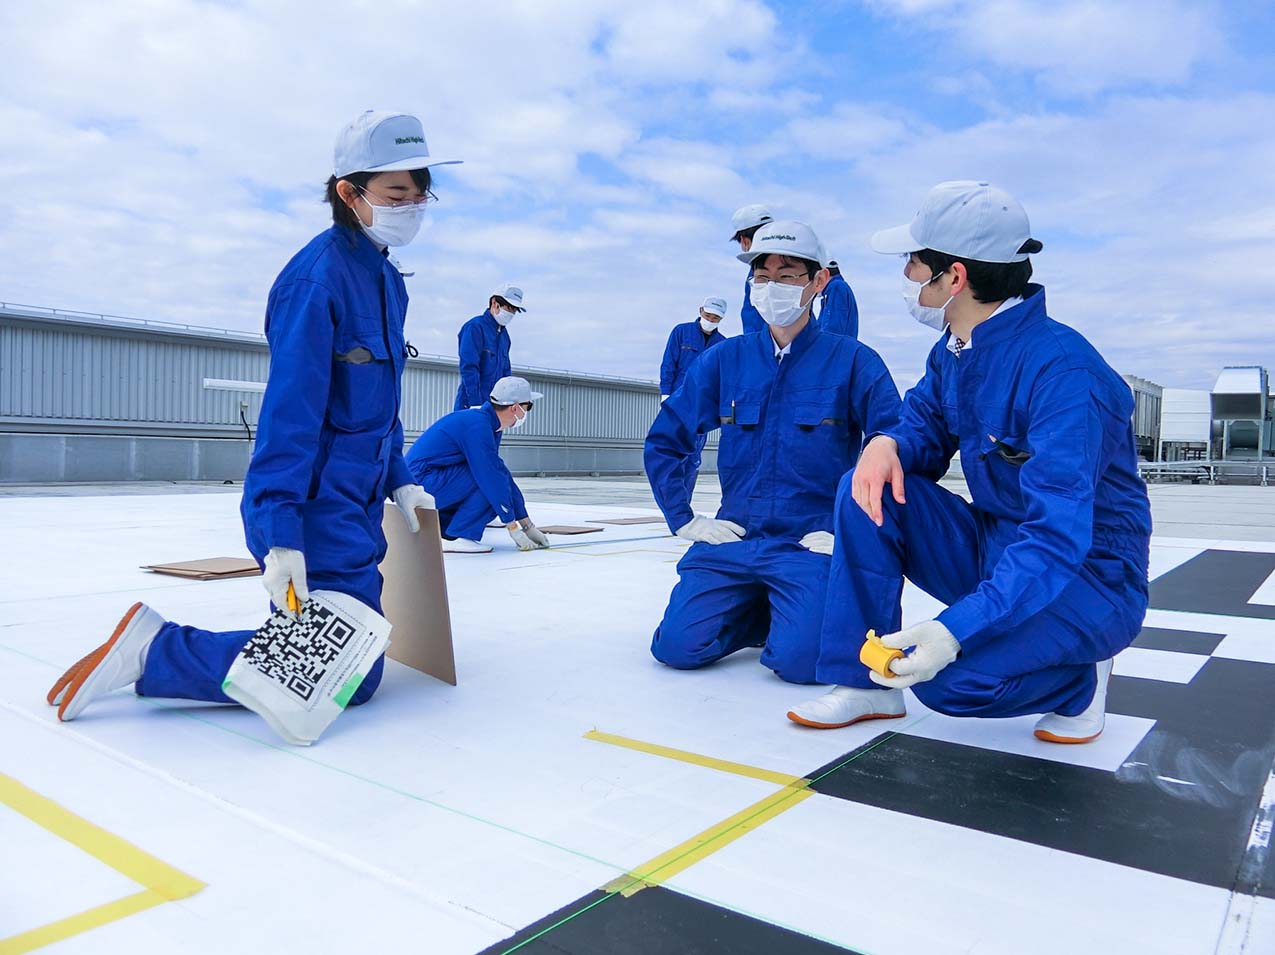
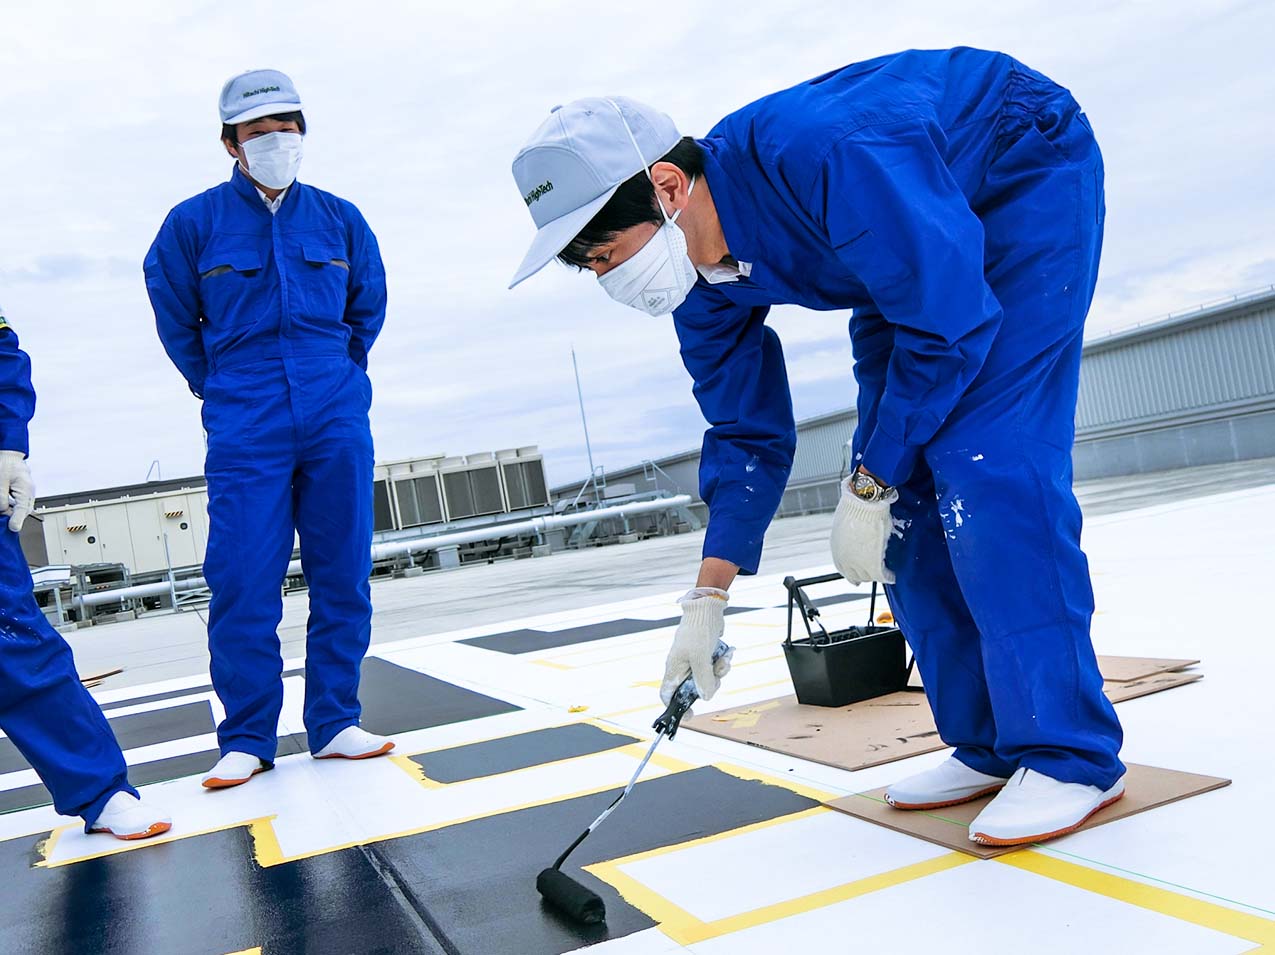
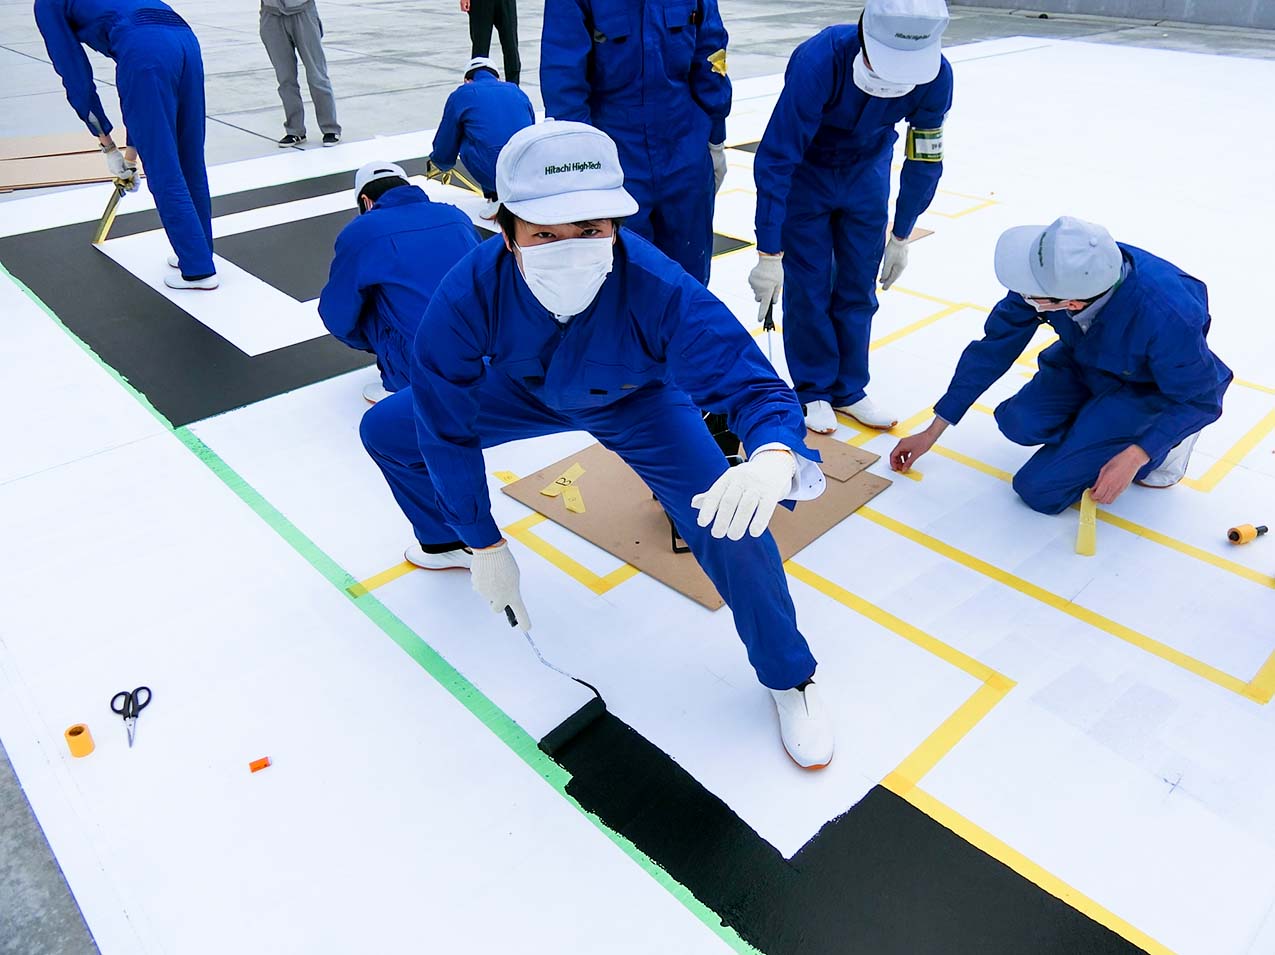
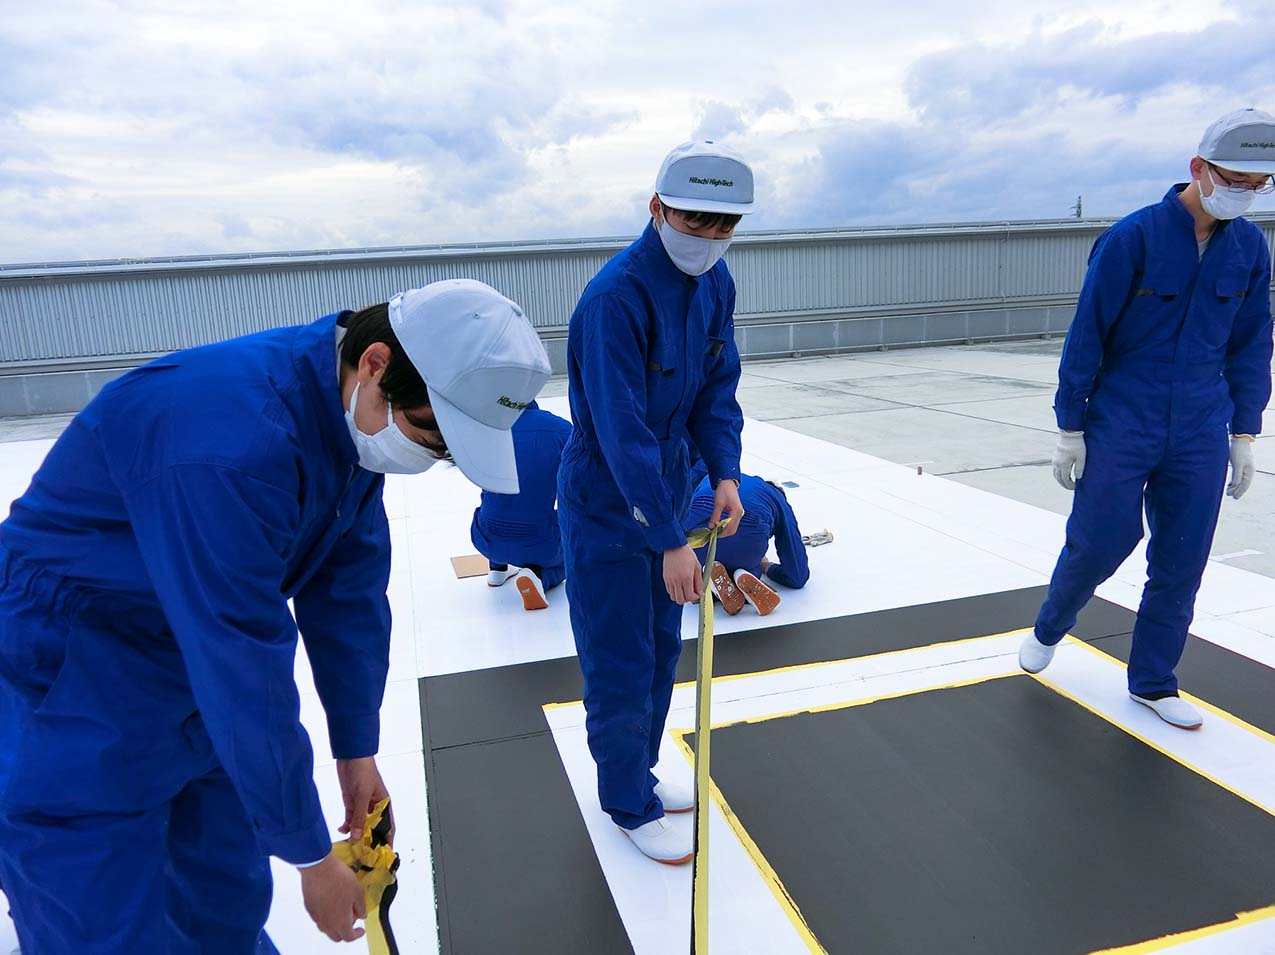
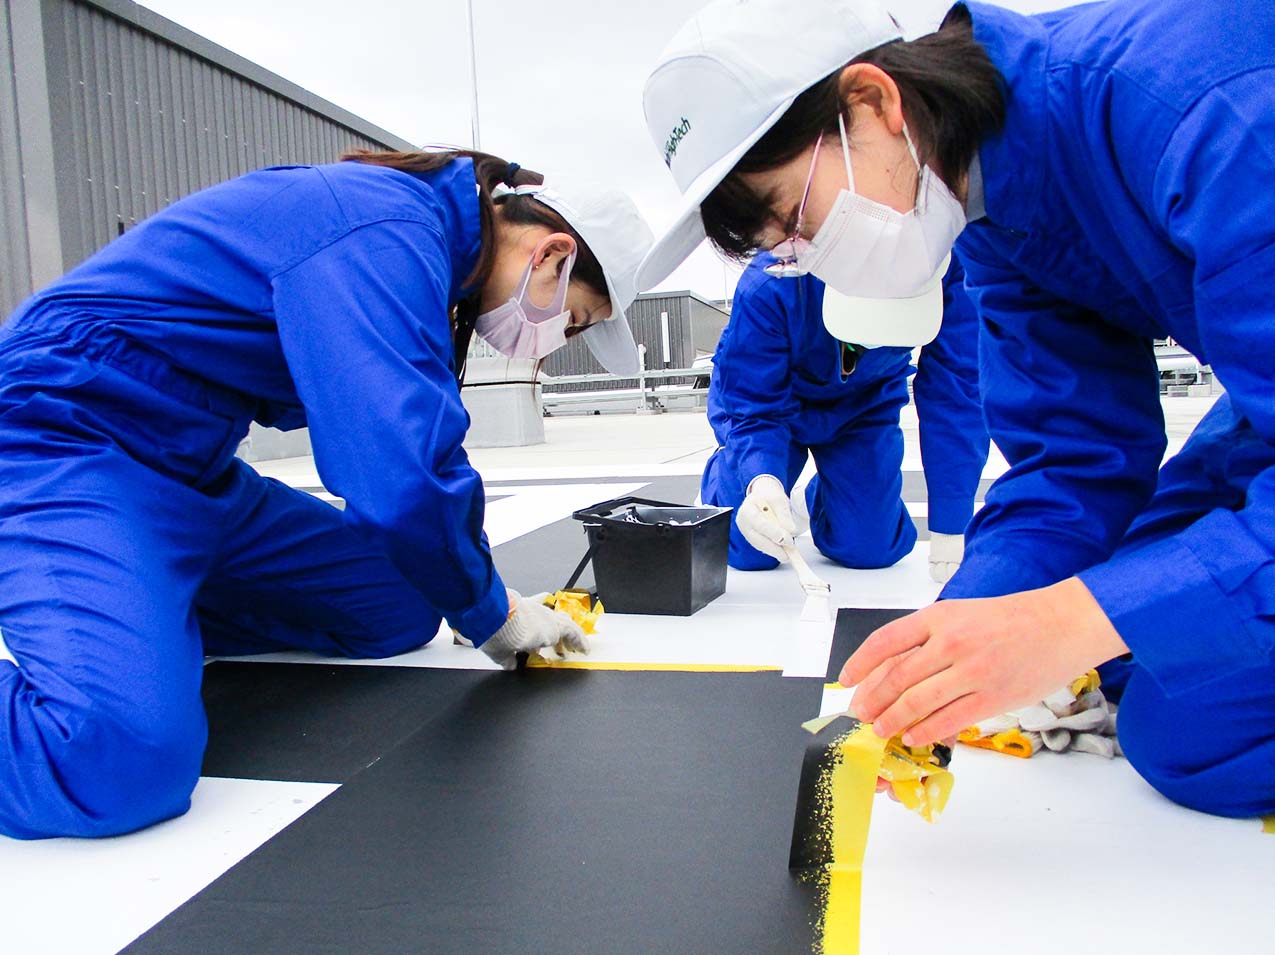
 From March 1, 2021, we started the construction of the QR code on the roof of Naka-Marine Site. The work was carried out including members from afar. The first task was to tape the 13.2 m square frame. It's a simple, but an important task that does not allow any room for distortion. We paid close attention to the QR Code Group and worked carefully in cooperation with each other. After that, we applied strong glue to improve the paint application over the entire area. This is where we learned how to conduct the paint work with a roller.

  • Create outer frame with tape.Always check for any misalignments
    Create outer frame with tape
    Always check for any misalignments
  • Roller working (1)
    Roller working (1)
  • Roller working (2)
    Roller working (2)
  • Roller working (3)
    Roller working (3)
  • Roller working (4)
    Roller working (4)
  • Roller working (5)
    Roller working (5)
  • Roller working (6)
    Roller working (6)
  • Roller working (7)
    Roller working (7)
  • Roller working (8)
    Roller working (8)
  • Completed base coating
    Completed base coating

    White paint

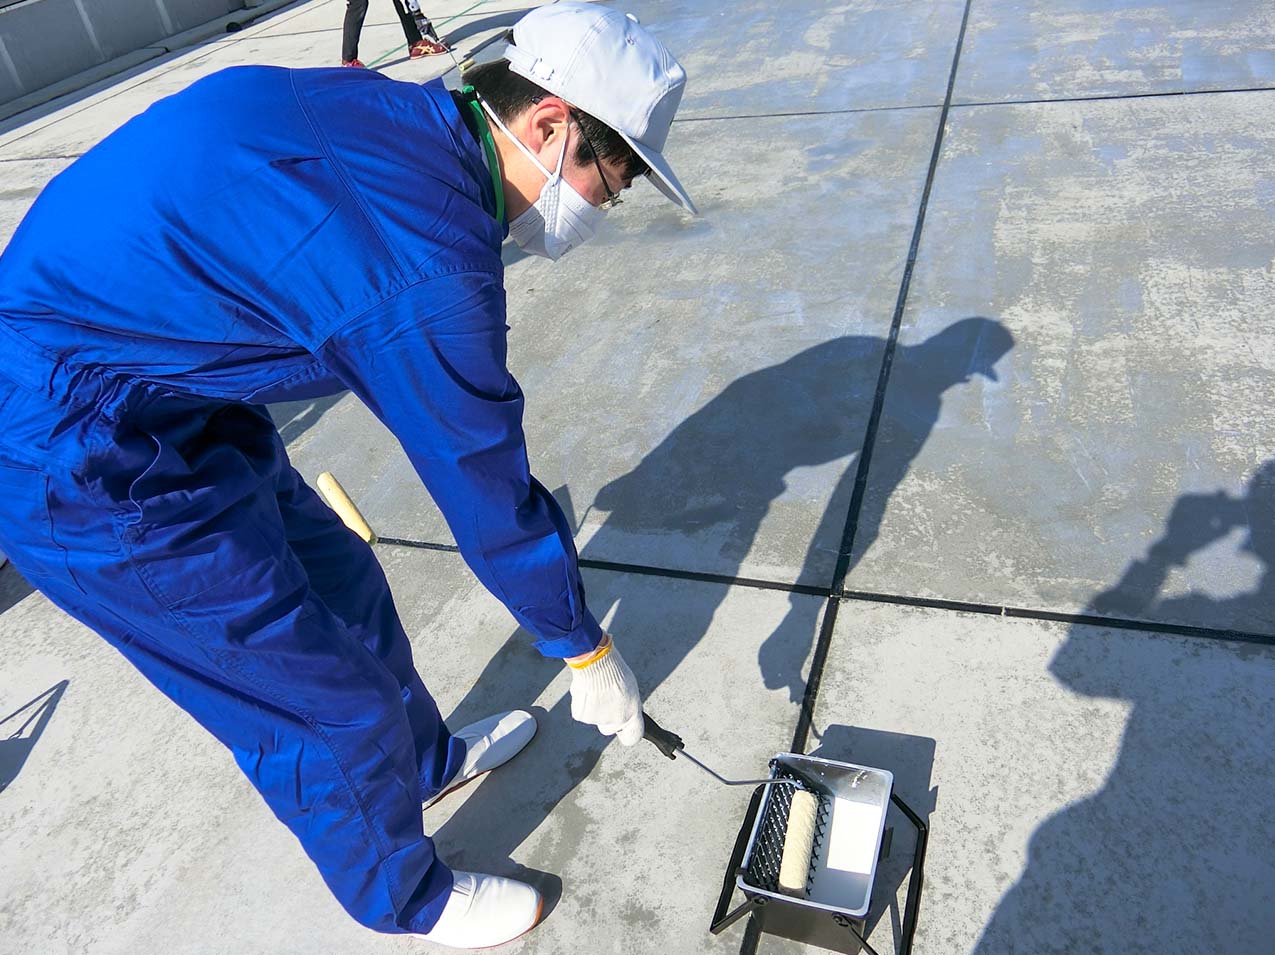
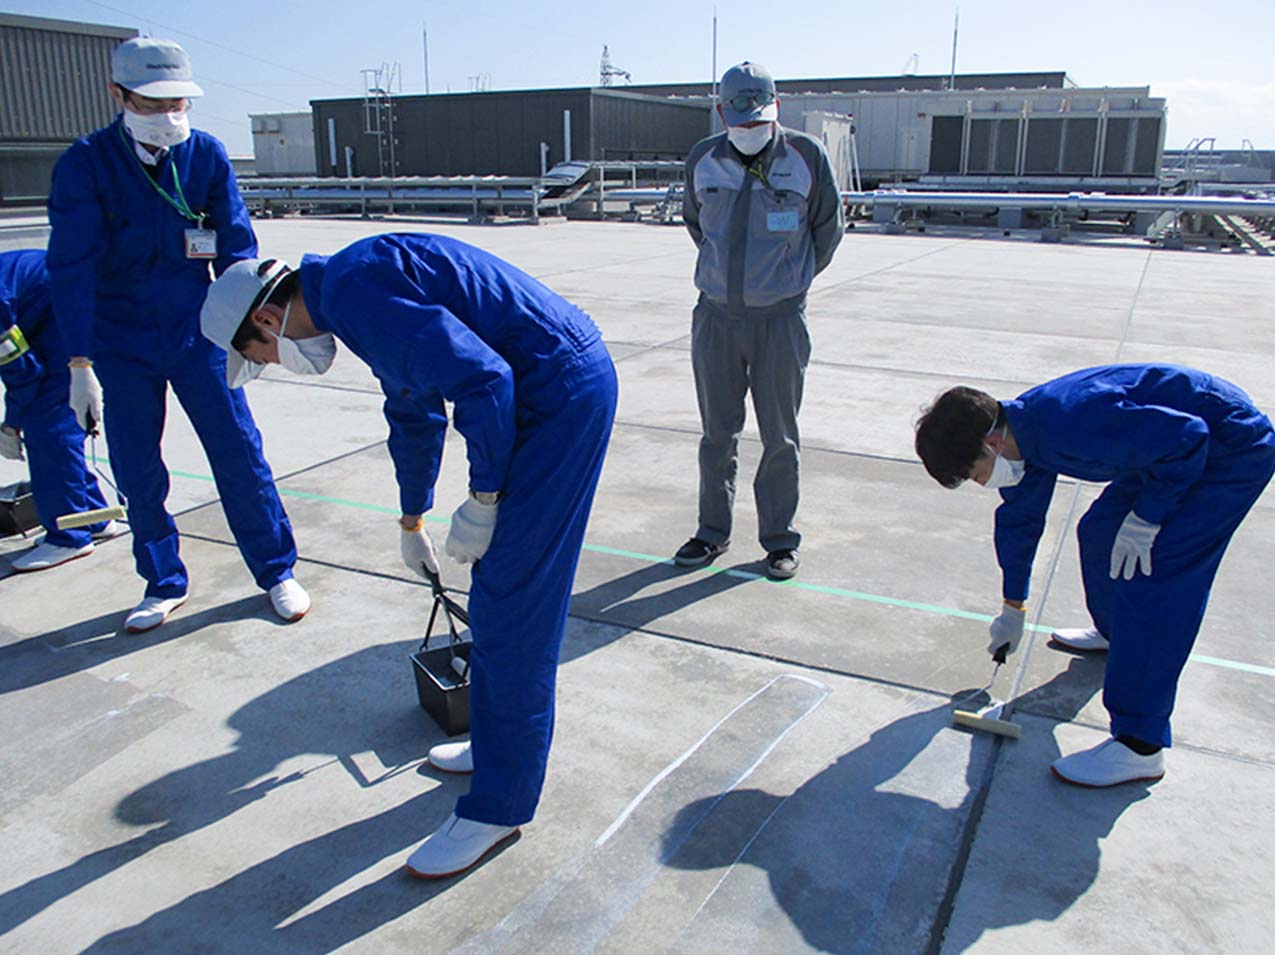
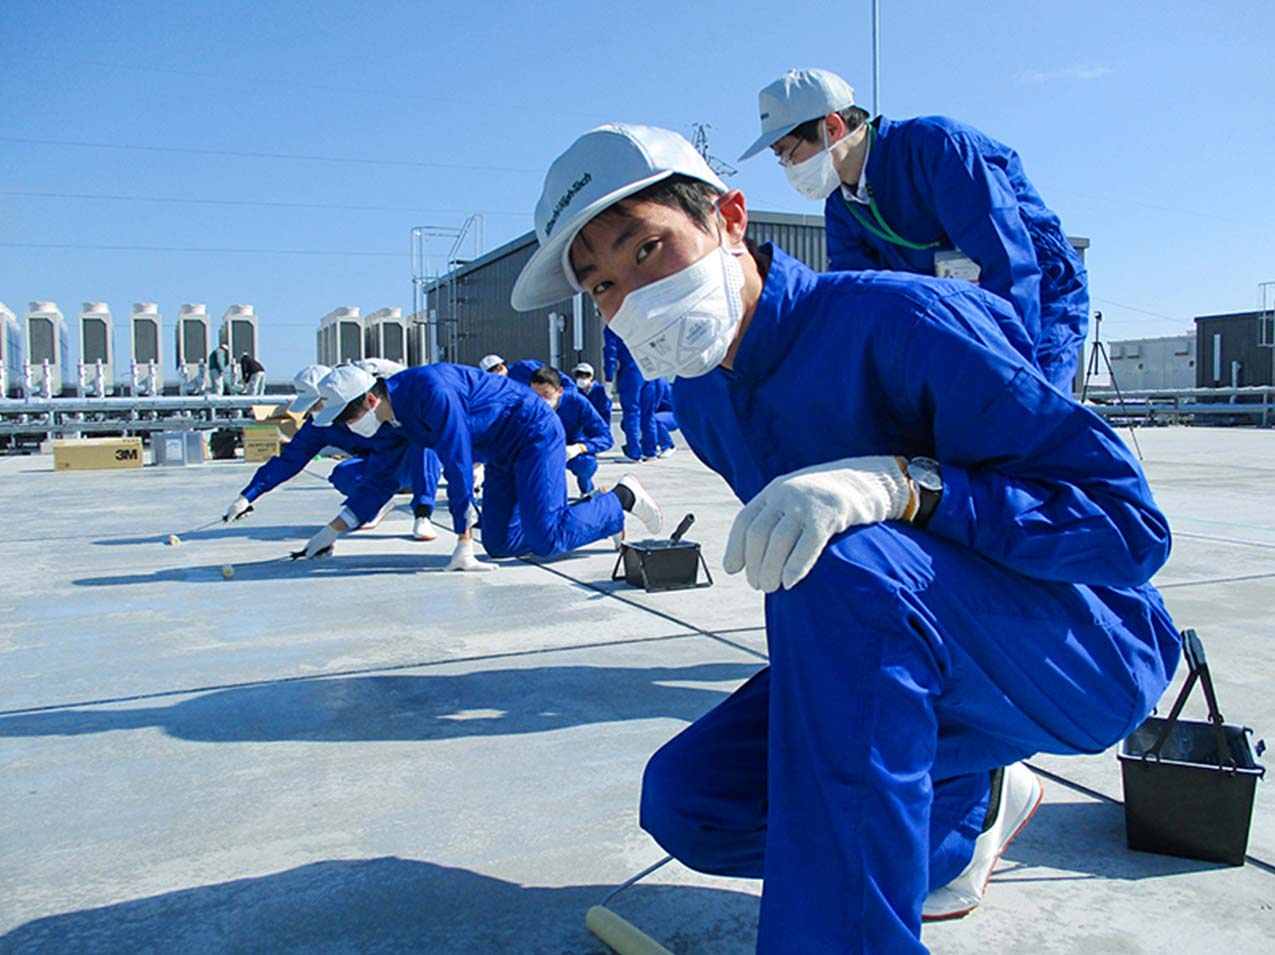
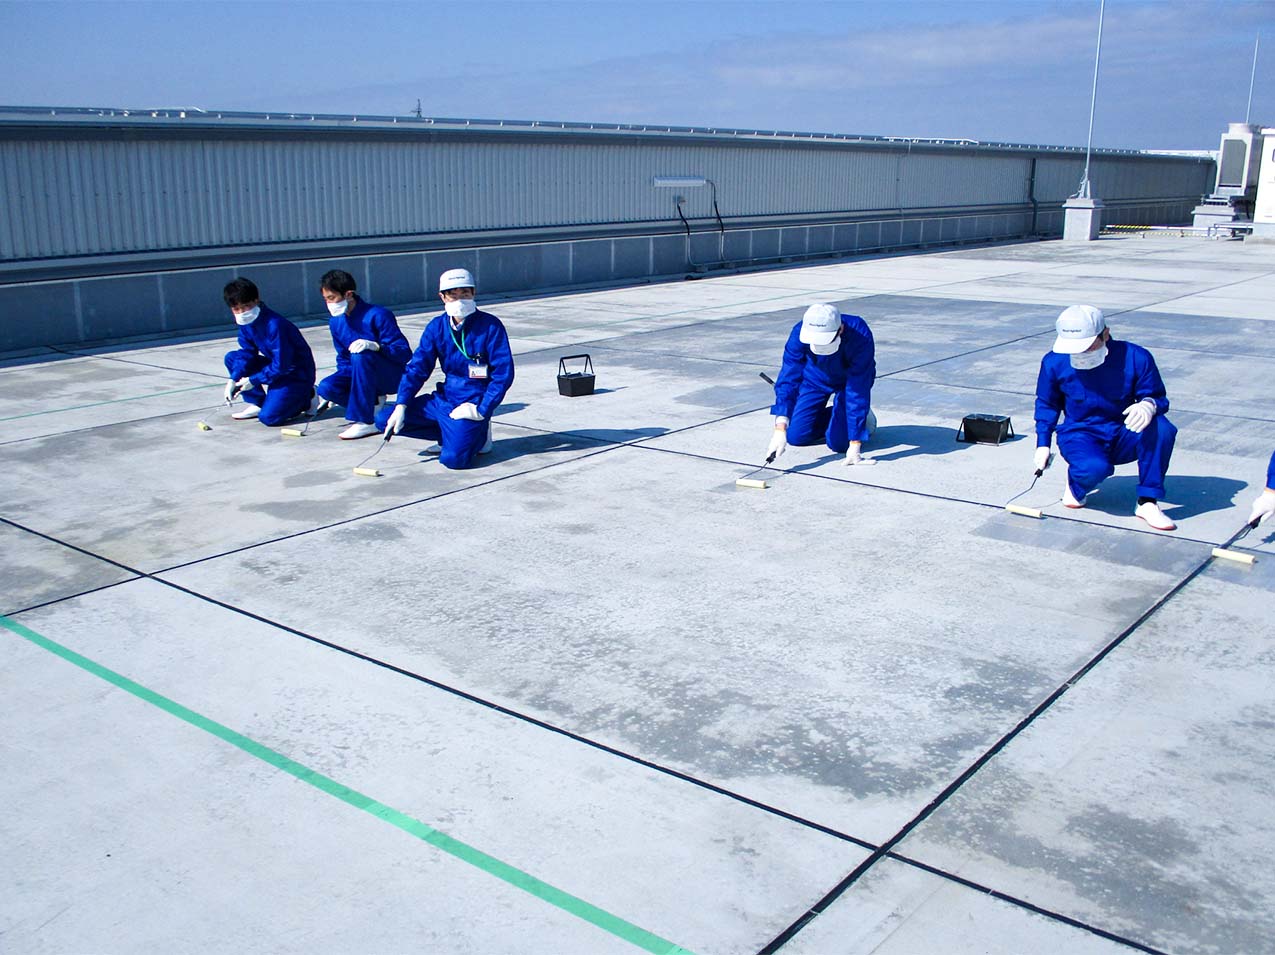
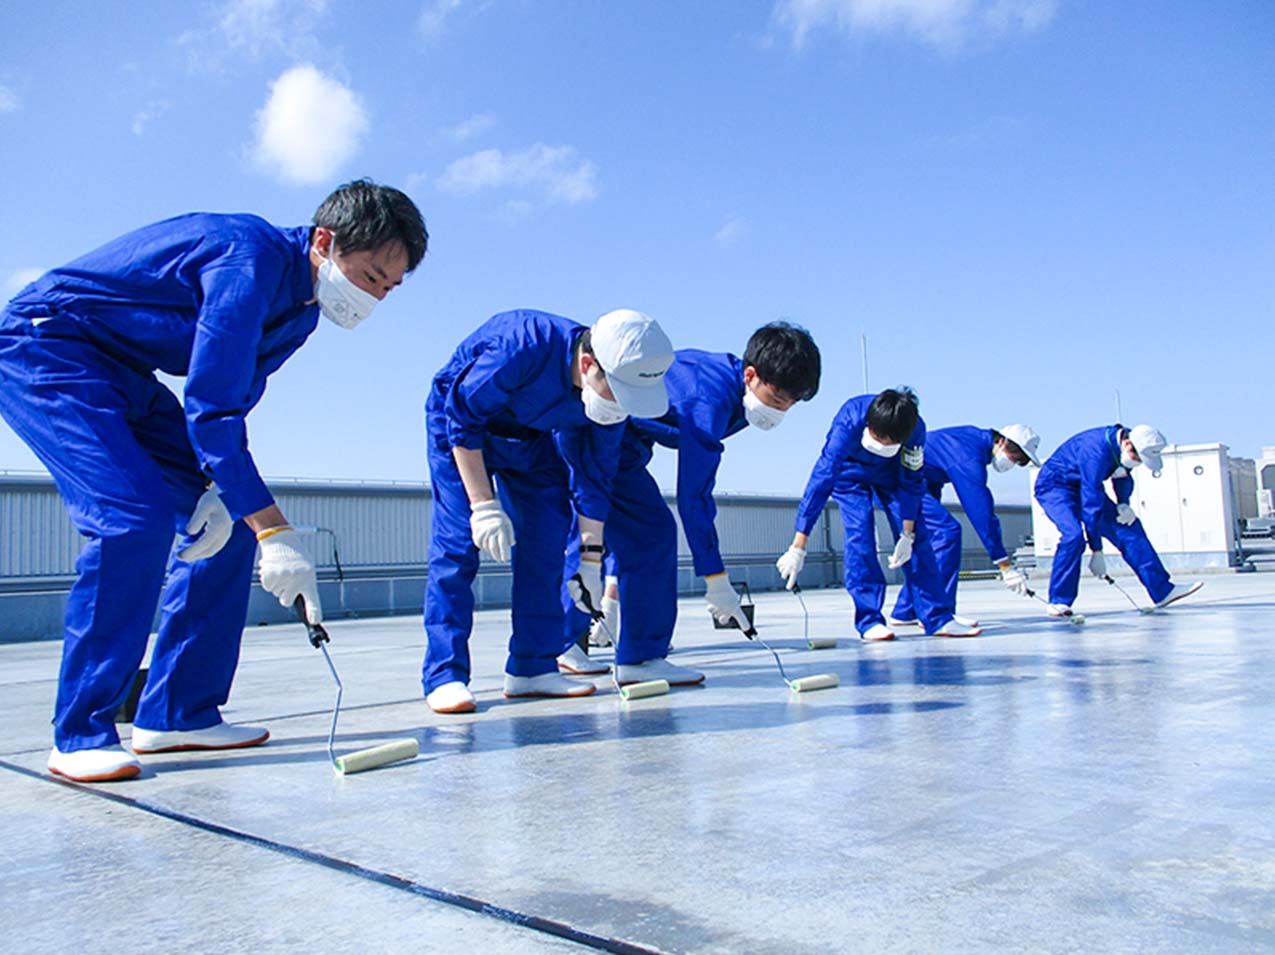
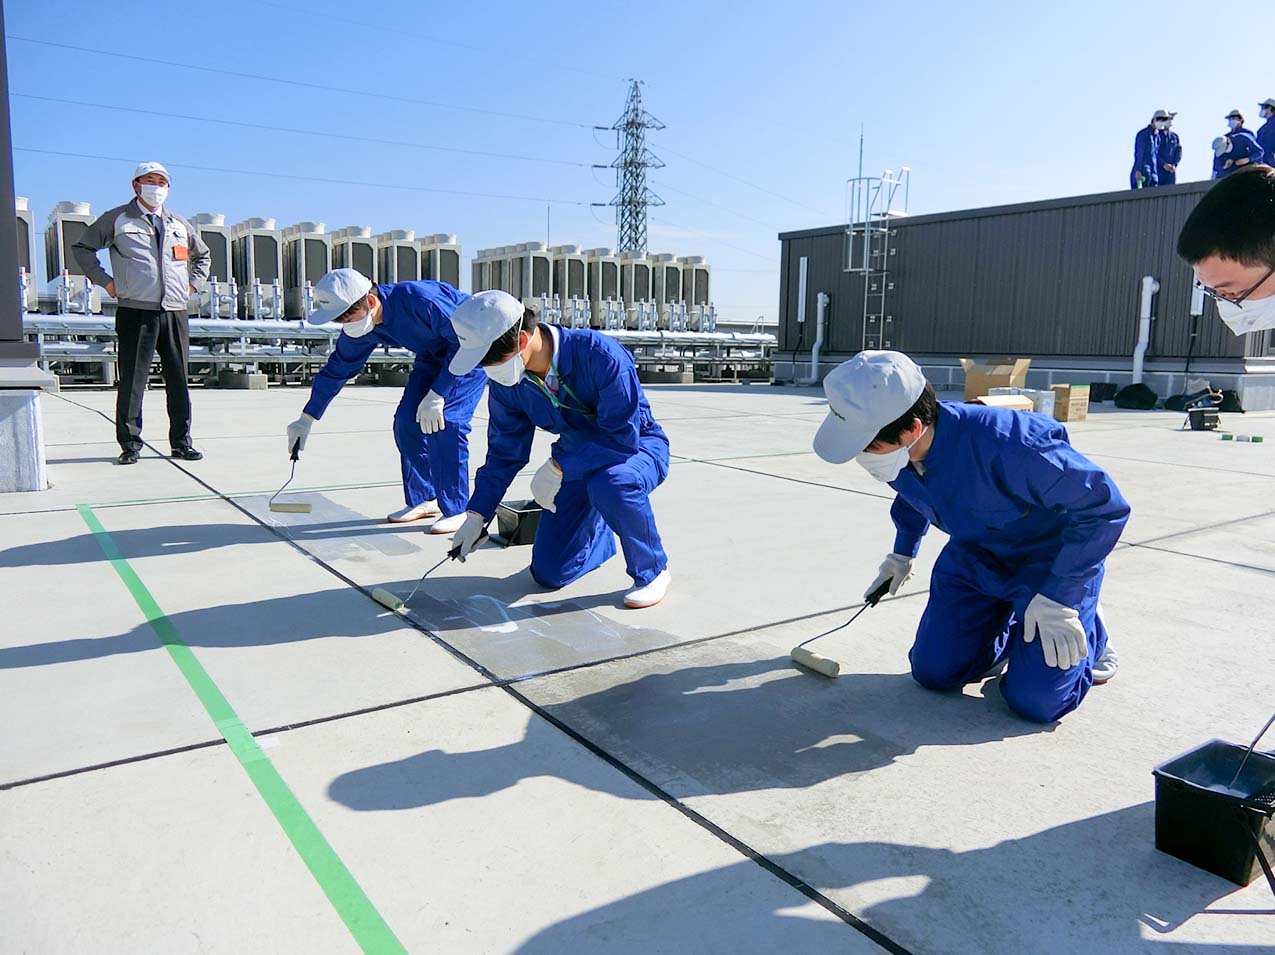
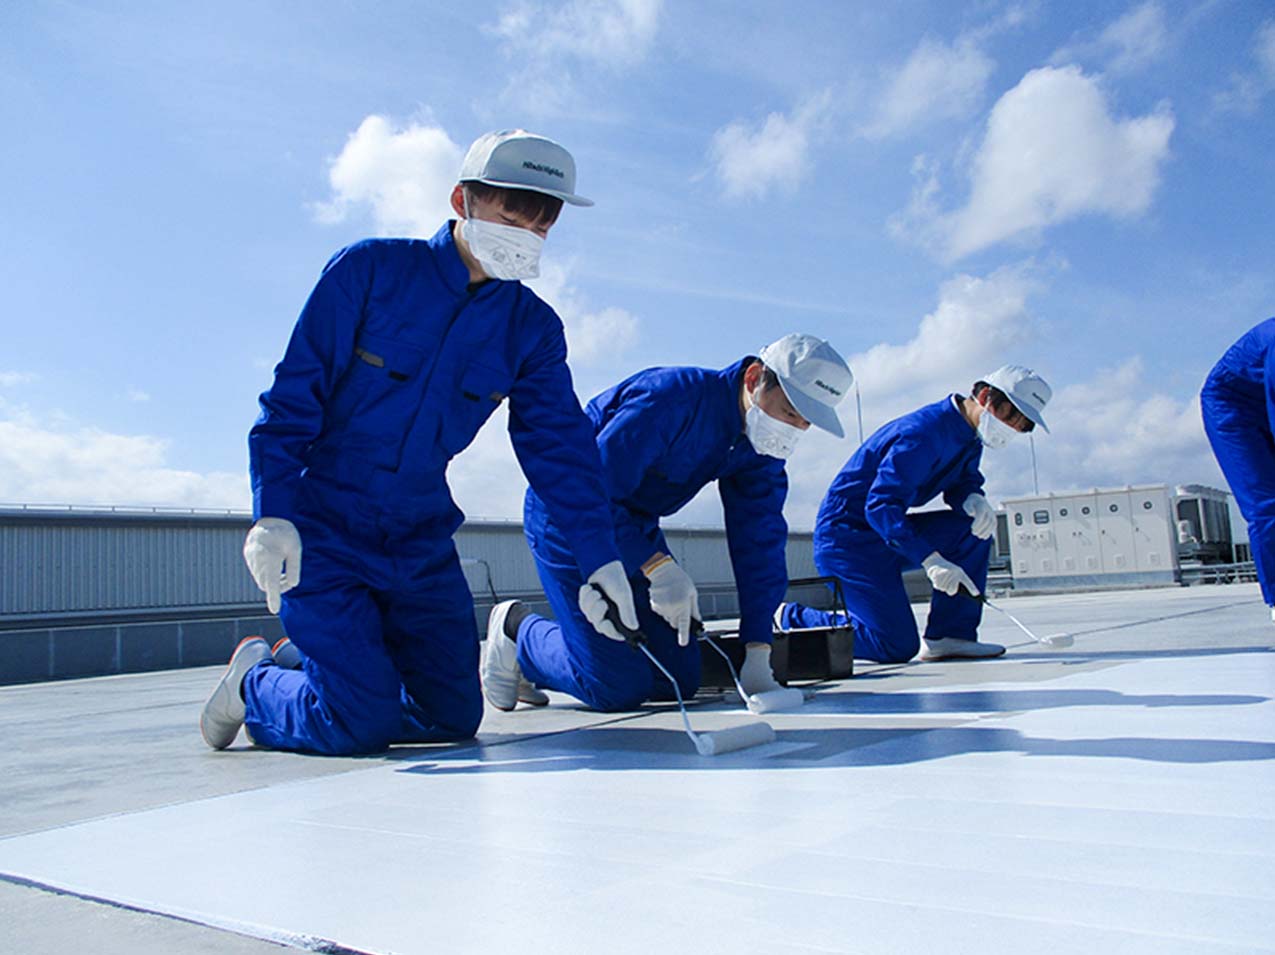
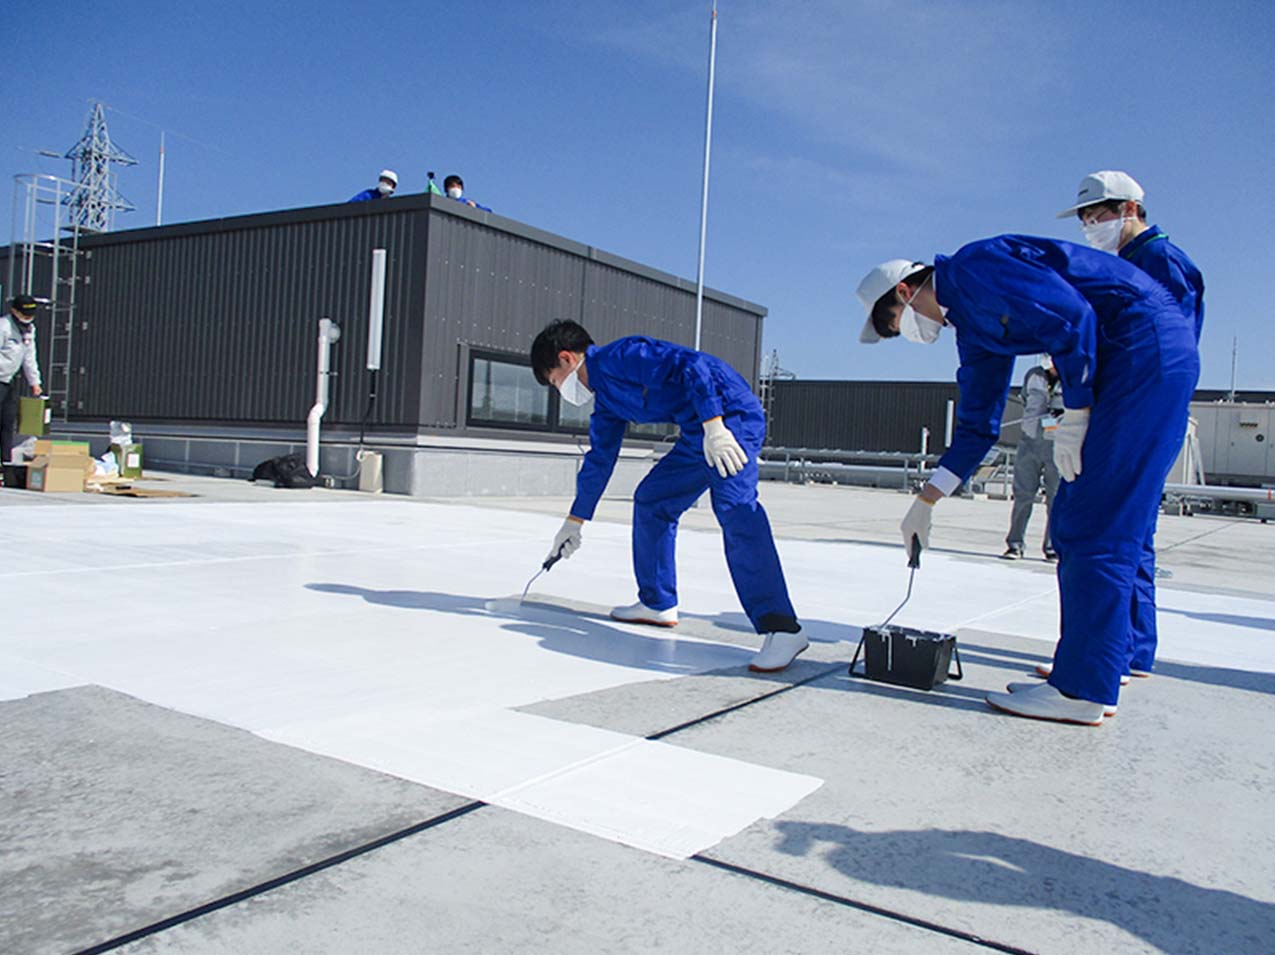
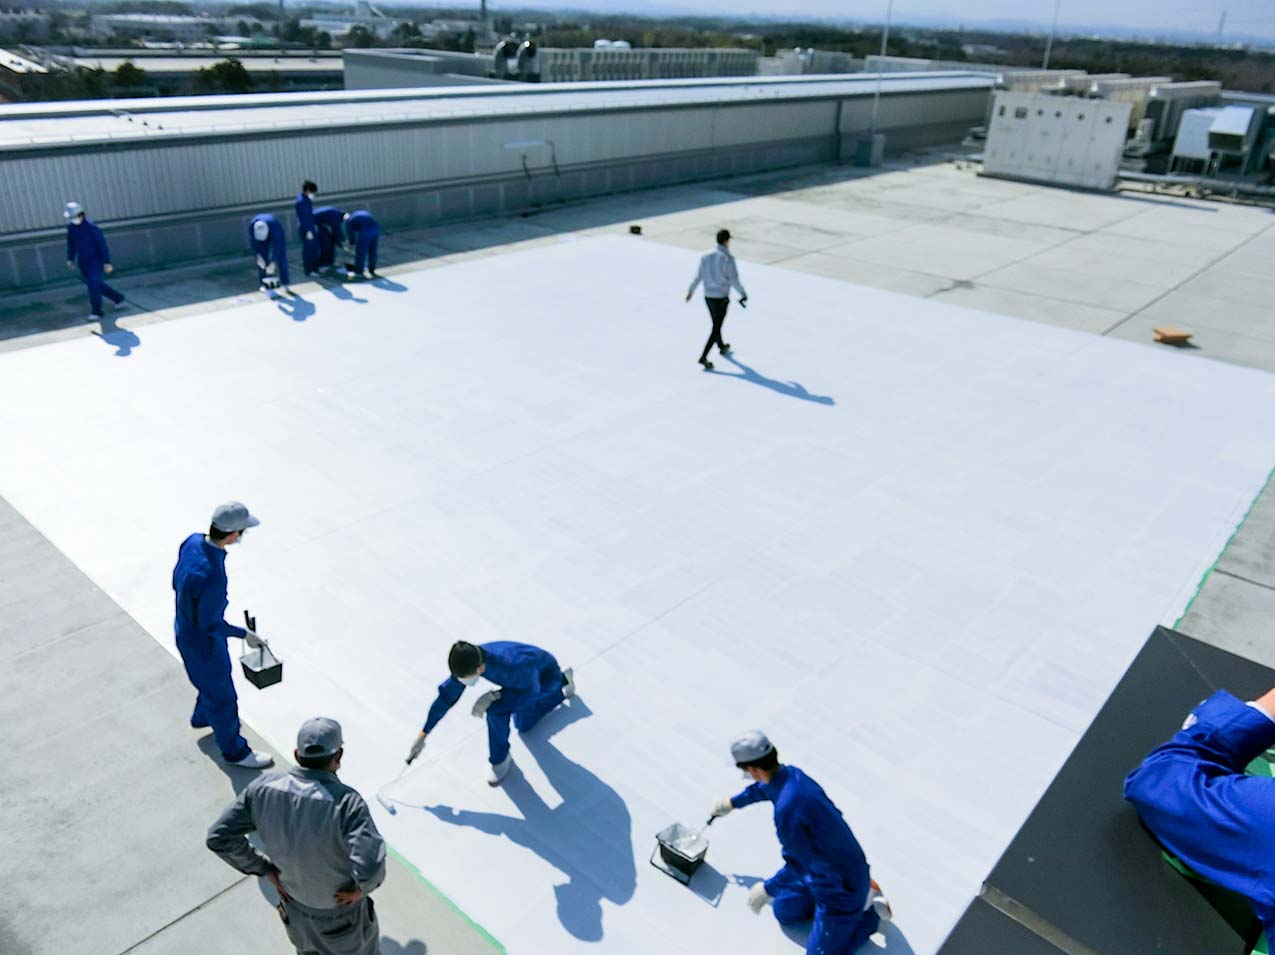
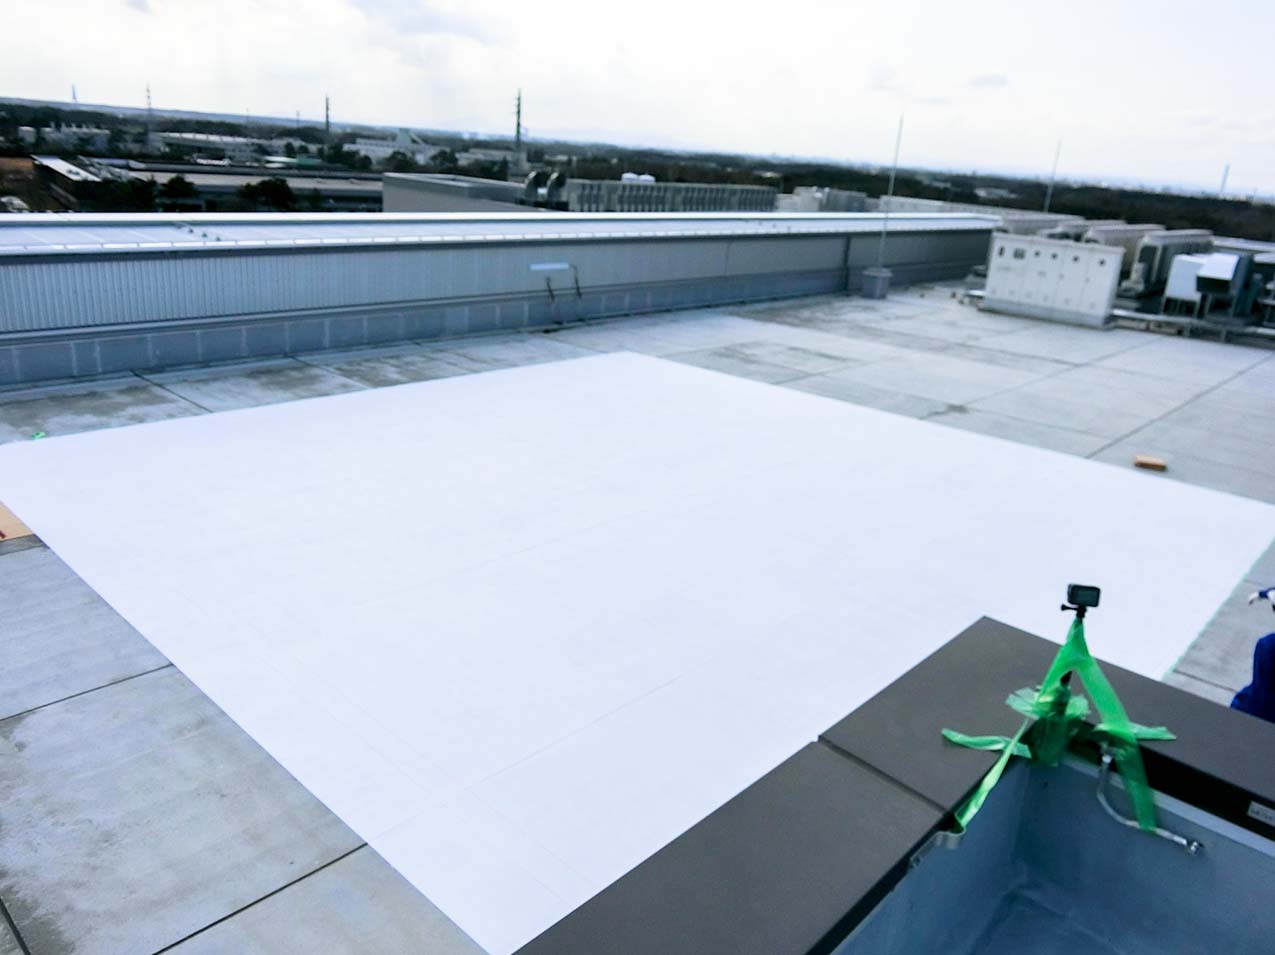
    We painted white paint on the entire surface. Unlike the base, this paint dries quickly, so the appearance changes depending on how the roller is applied. Therefore, proper skills in using the roller is required, such as using the right amount of paint and applying the right amount of force.
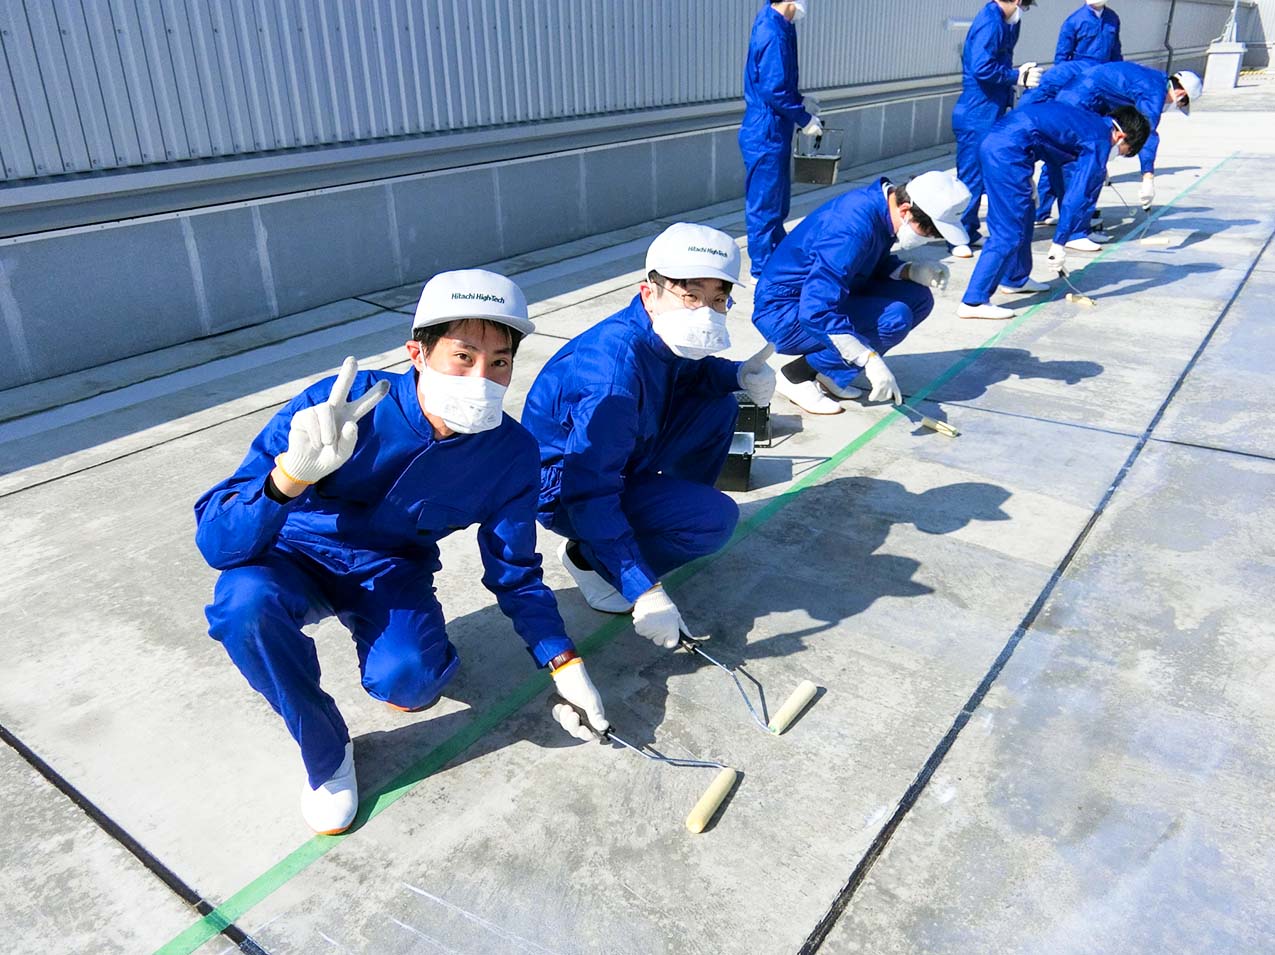
    Also, instead of painting in random directions, the surface will be beautifully finished by painting in two steps, vertical and horizontal.
    Our experience from paining the base coating was very helpful in this task.

    • Work carefully for proper appearance (1)
      Work carefully for proper appearance (1)
    • Work carefully for proper appearance (2)
      Work carefully for proper appearance (2)
    • Work carefully for proper appearance (3)
      Work carefully for proper appearance (3)
    • Painting in a single direction prevented any irregularities from forming(1)
      Painting in a single direction prevented any irregularities from forming(1)
    • Painting in a single direction prevented any irregularities from forming(2)
      Painting in a single direction prevented any irregularities from forming(2)
    • Painting in a single direction prevented any irregularities from forming(3)
      Painting in a single direction prevented any irregularities from forming(3)
    • Painting in a single direction prevented any irregularities from forming(4)
      Painting in a single direction prevented any irregularities from forming(4)
    • Painting in a single direction prevented any irregularities from forming(5)
      Painting in a single direction prevented any irregularities from forming(5)
    • Painting in a single direction prevented any irregularities from forming(6)
      Painting in a single direction prevented any irregularities from forming(6)
    • White painting completed
      White painting completed

      Step3Masking

      Masking work

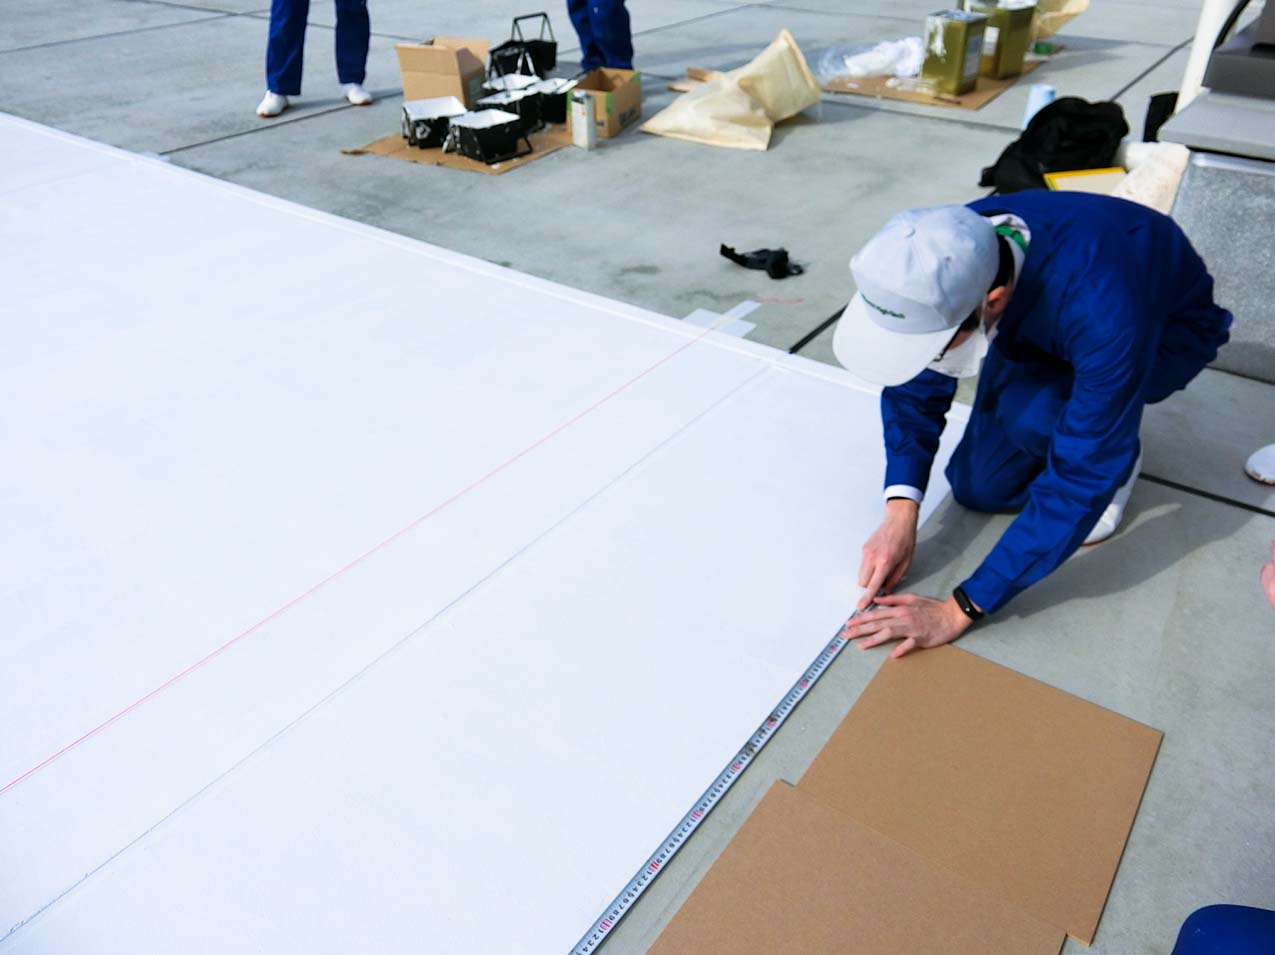
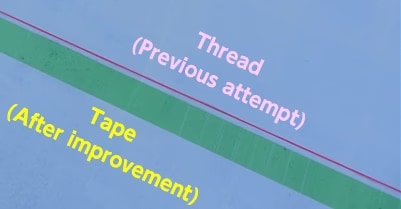
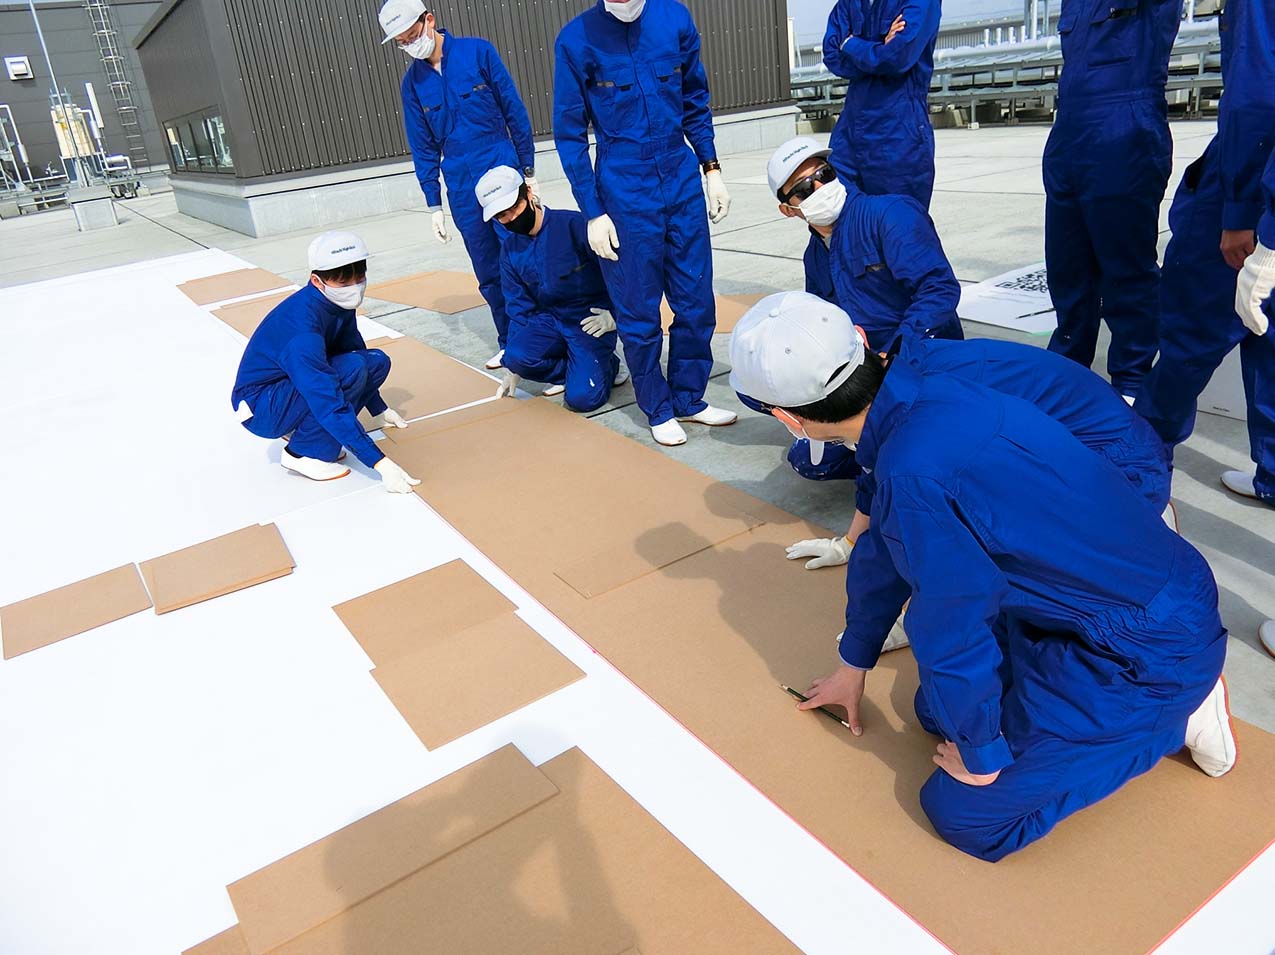
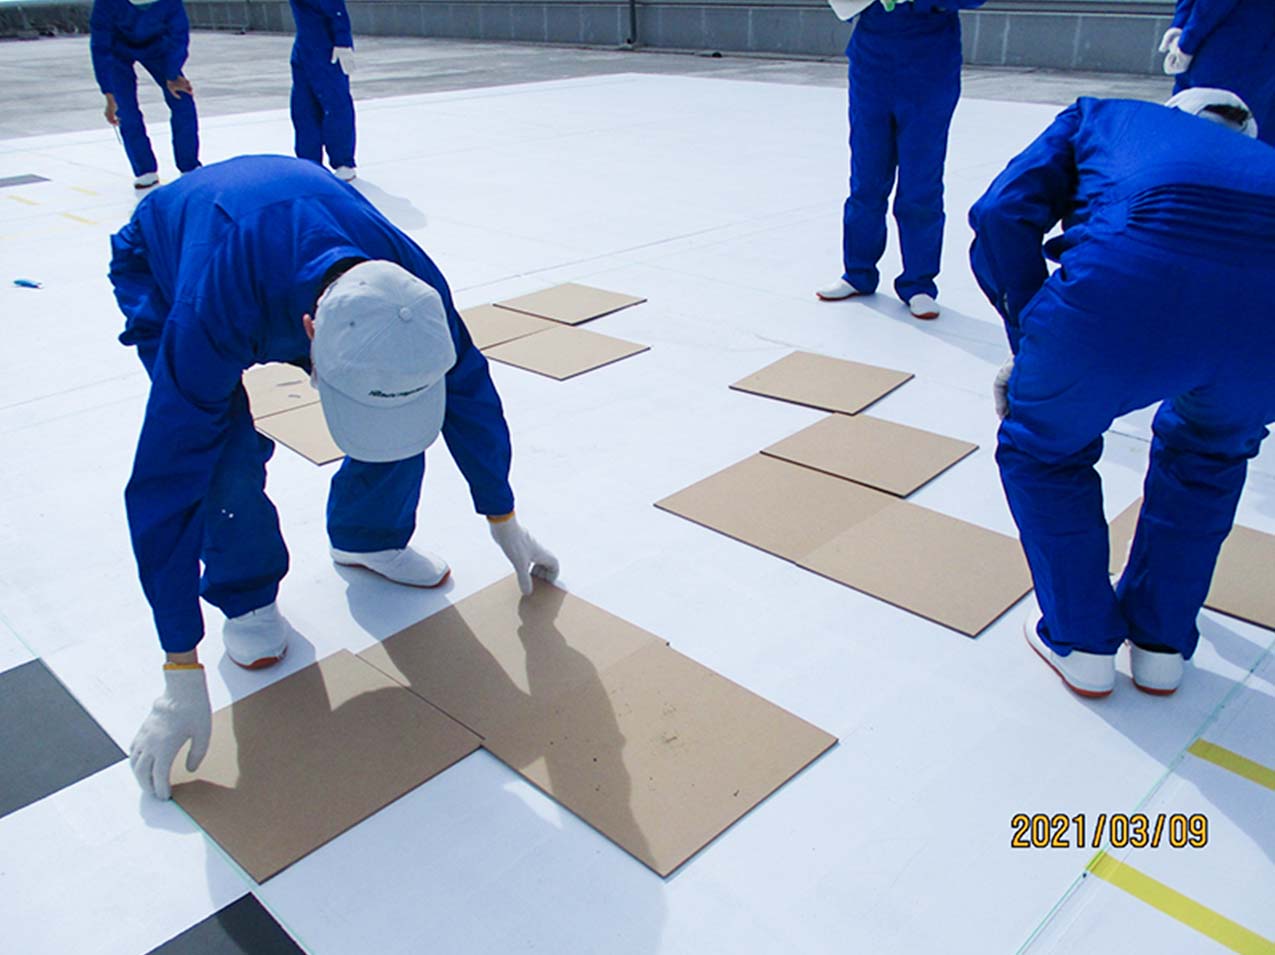
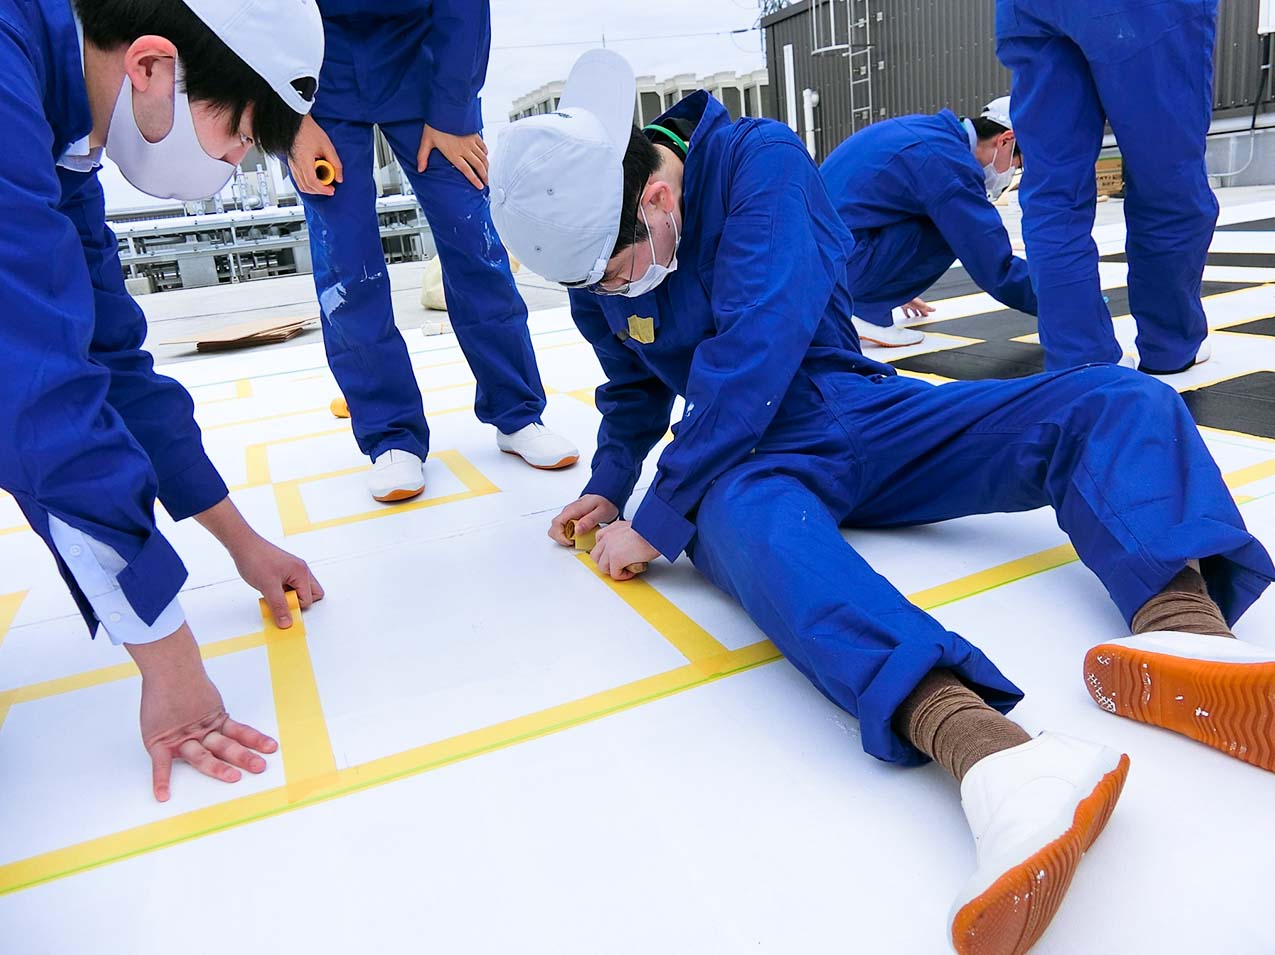
      We determined the square-shaped area for drawing the QR code. We did this by lining up boards the same size as a single cell around the area and outlining them with thread.
      We then masked the drawing area using this thread as a marker. However, we found that masking with this method did not allow us to draw accurate squares.

      [Cause]
      The boards didn't always have the same shape.
      There were small gaps and misalignments when they were laid out.
      The heat of the roof caused the boards to warp.

      If we did not resolve this issue, there was a risk that the QR code would be distorted and therefore unreadable.

      1. ①Check the drawing
        ①Check the drawing
      2. ②Count the squares in the margin
        ②Count the squares in the margin
      3. ③Masking on the mark made with a  thread
        ③Masking on the mark made with a thread
      4. ④Length & perpendicularity do not match......
        ④Length & perpendicularity do not match......

      Improved masking work

      We have solved these problems by trial and error through various attempts.
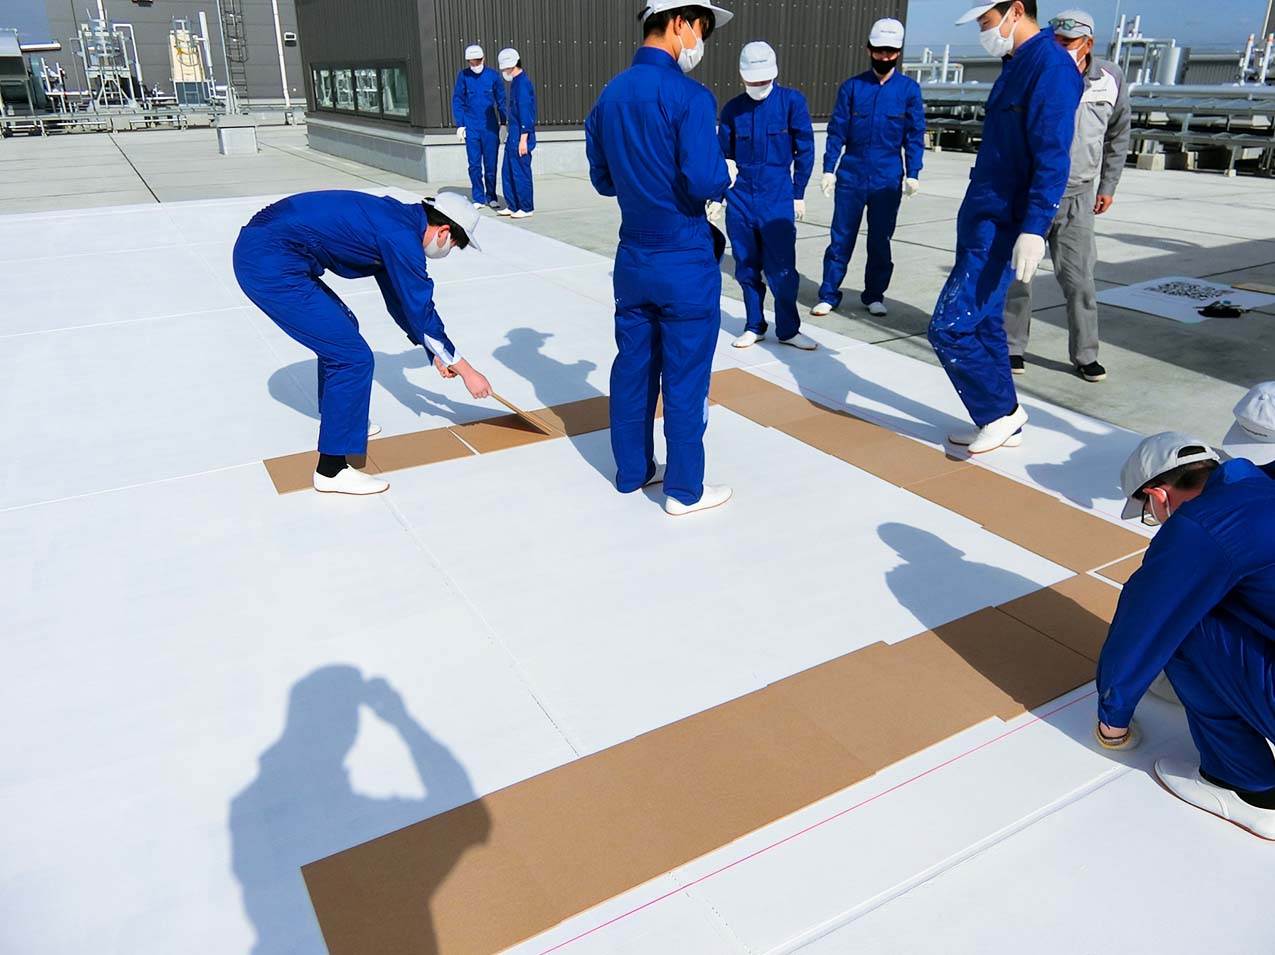
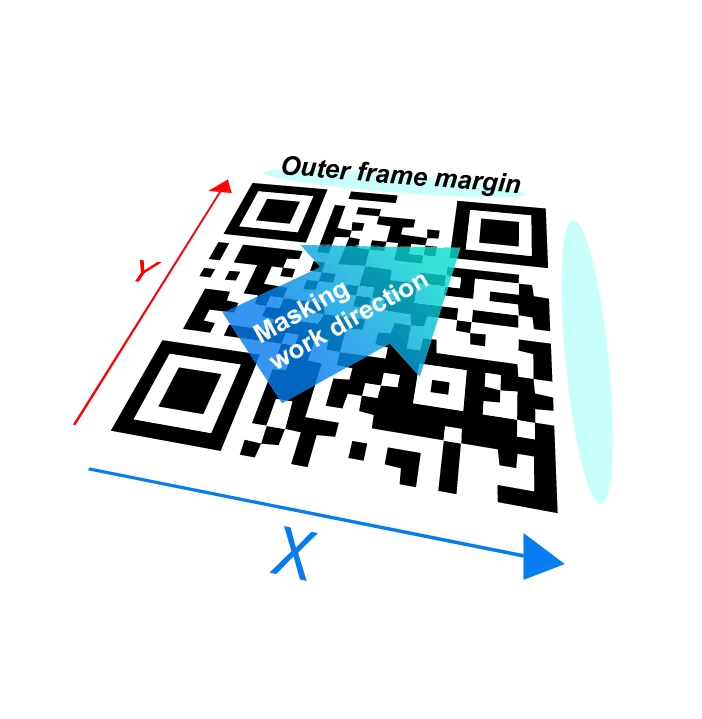
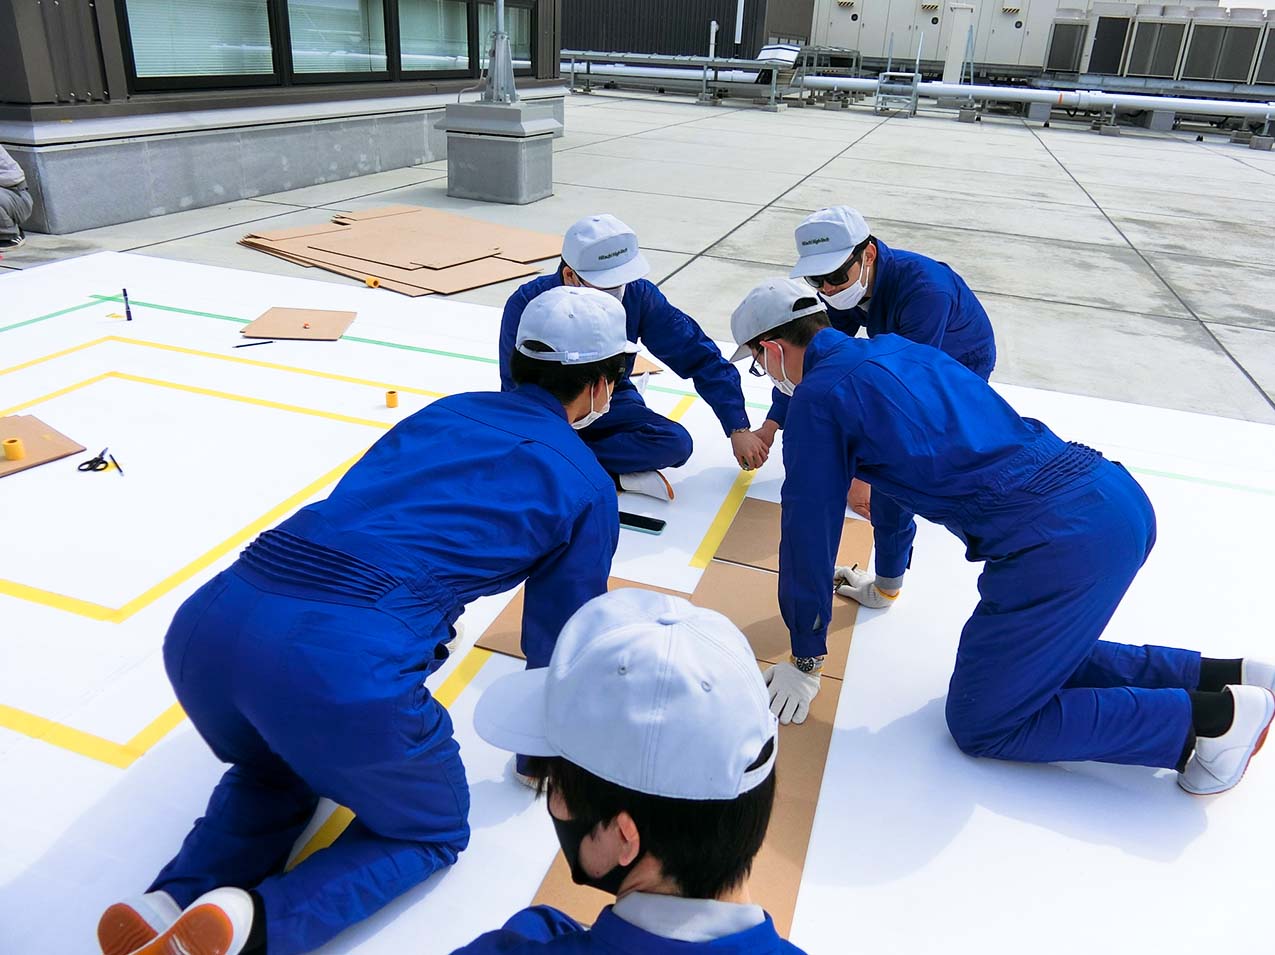
      First, we changed the board to a large and thick one to reduce the possibility of warping and gaps. Also, instead of placing the boards from the outside to first determine the actual drawing area, we decided to prioritized the accuracy by placing the boards from both the direction of the "X" and "Y" axes.
      After drawing the axes, we proceeded with the positioning of the squares. However, some misplacements still occurred, so we divided the entire surface into 4x4 squares and adjusted the error in each square.
      In this way, we were able to ensure the acceptable accuracy for the design.

      Corrected deviation of several mm order!!
      • Considering tools and masking process (1)
        Considering tools and masking process (1)
      • Considering tools and masking process (2)
        Considering tools and masking process (2)
      • Considering tools and masking process (3)
        Considering tools and masking process (3)
      • Considering tools and masking process (4)
        Considering tools and masking process (4)
      • Masking scenes(1)
        Masking scenes(1)
      • Masking scenes(2)
        Masking scenes(2)
      • Masking scenes(3)
        Masking scenes(3)
      • Masking scenes(4)
        Masking scenes(4)
      • Masking scenes(5)
        Masking scenes(5)
      • Masking scenes(6)
        Masking scenes(6)
      • Masking scenes(7)
        Masking scenes(7)

        Step4Application of black paint

        Black paint

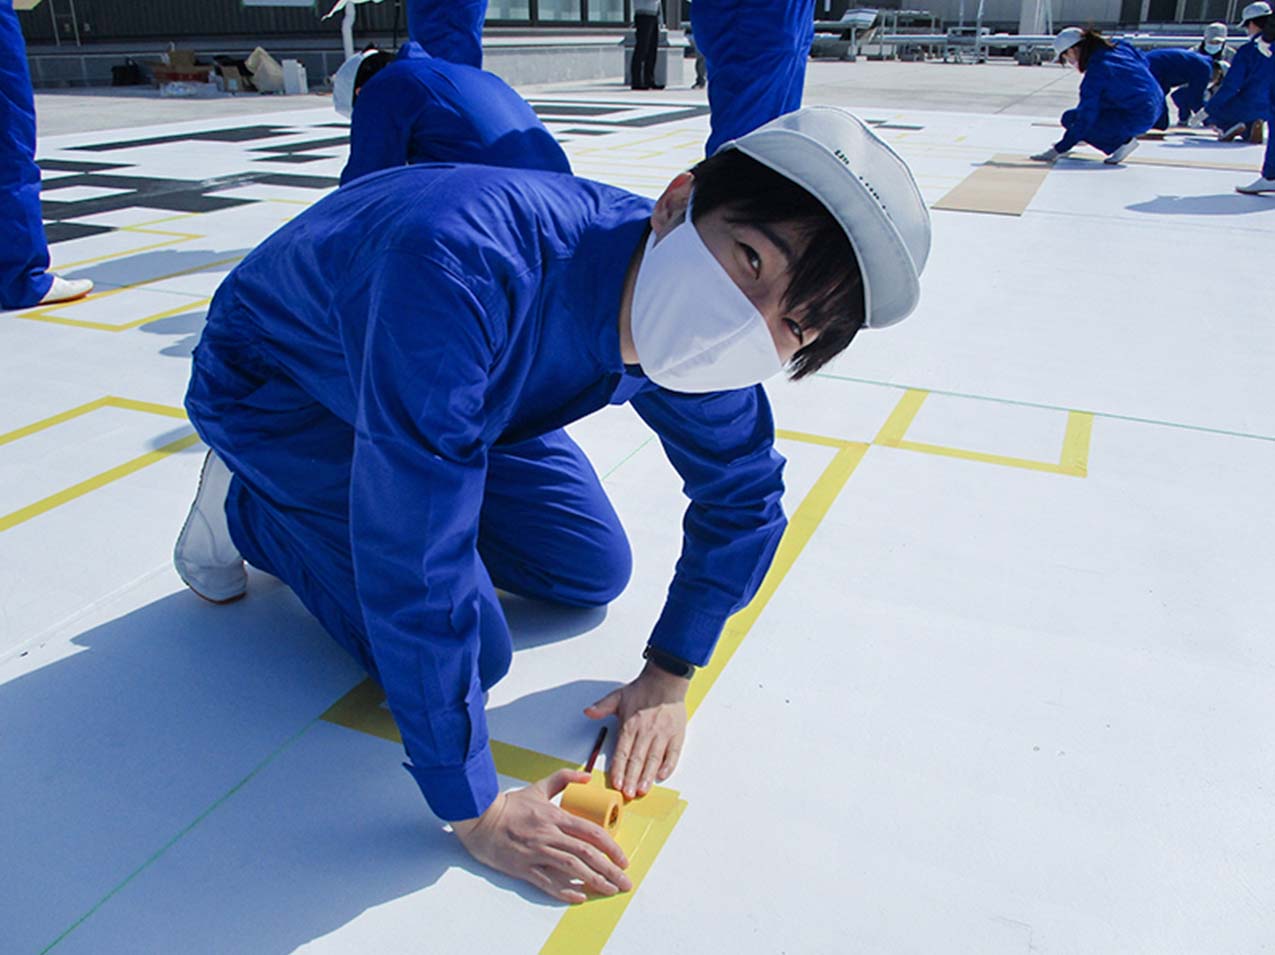
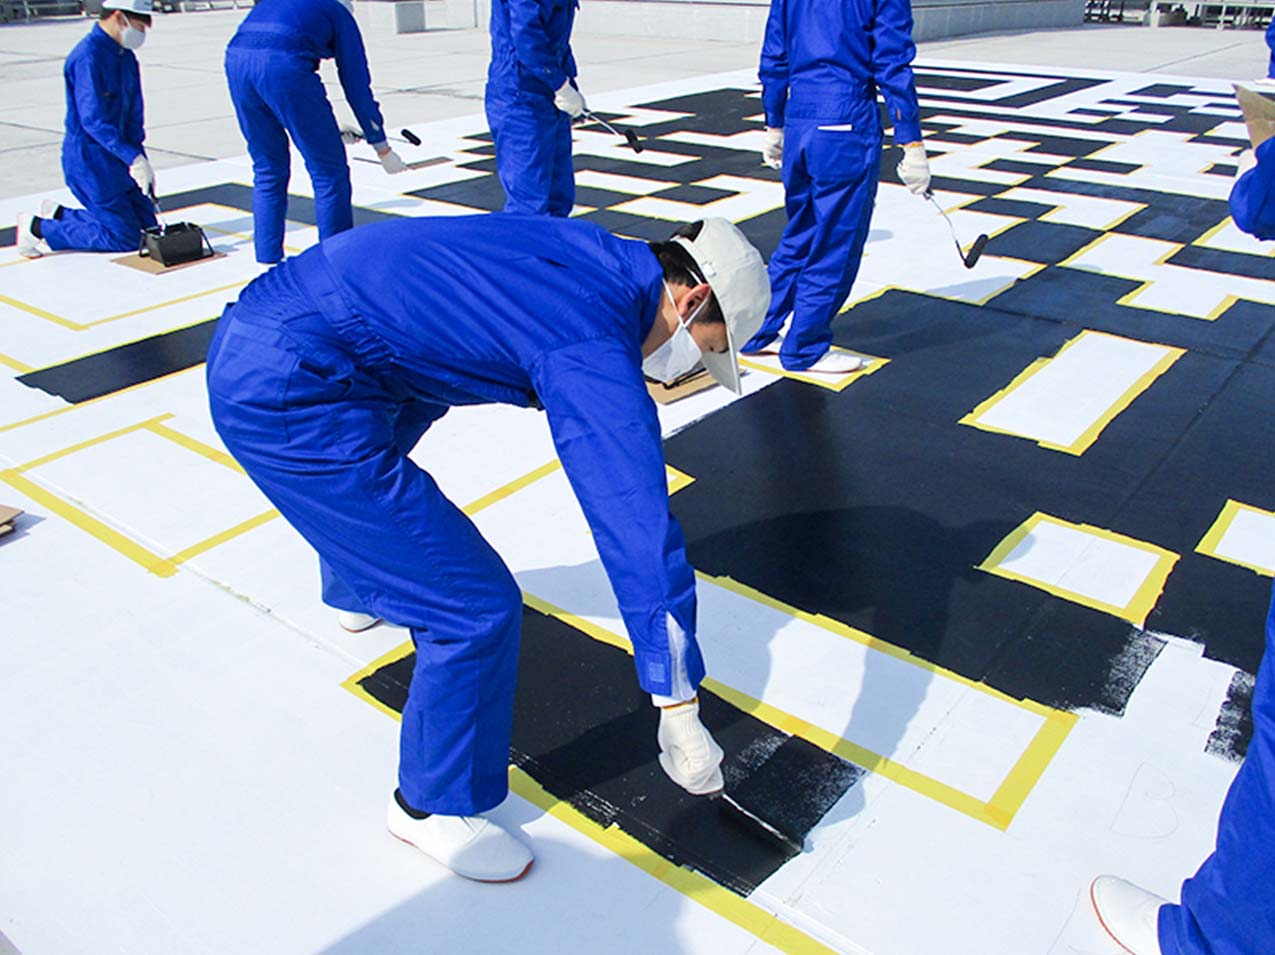
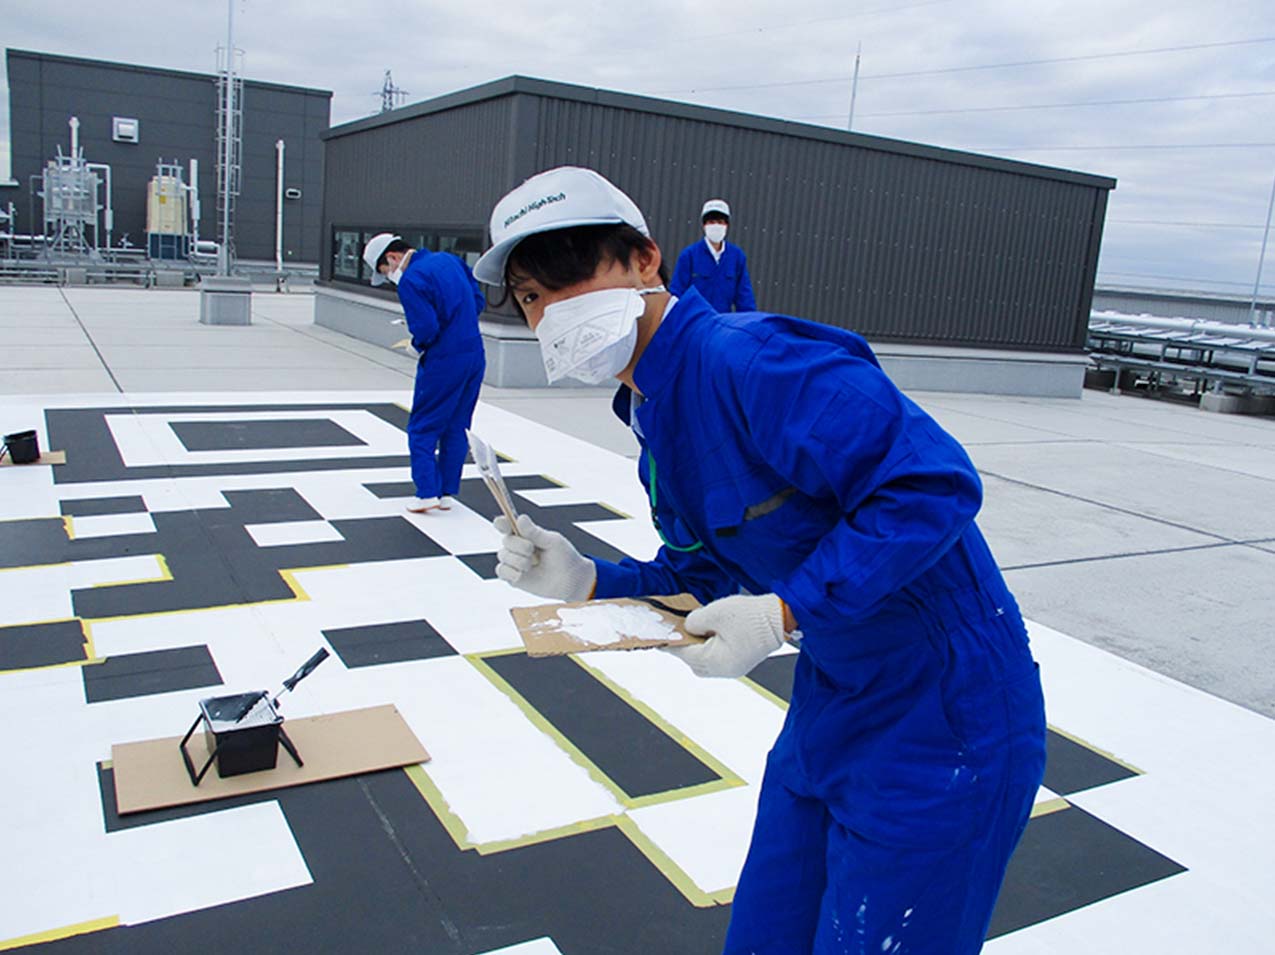
        We painted the black part of the QR code in the designated area from the previous masking work.
        By using masking tape, the black paint did not spill out of the box, and it was possible to paint accurately.
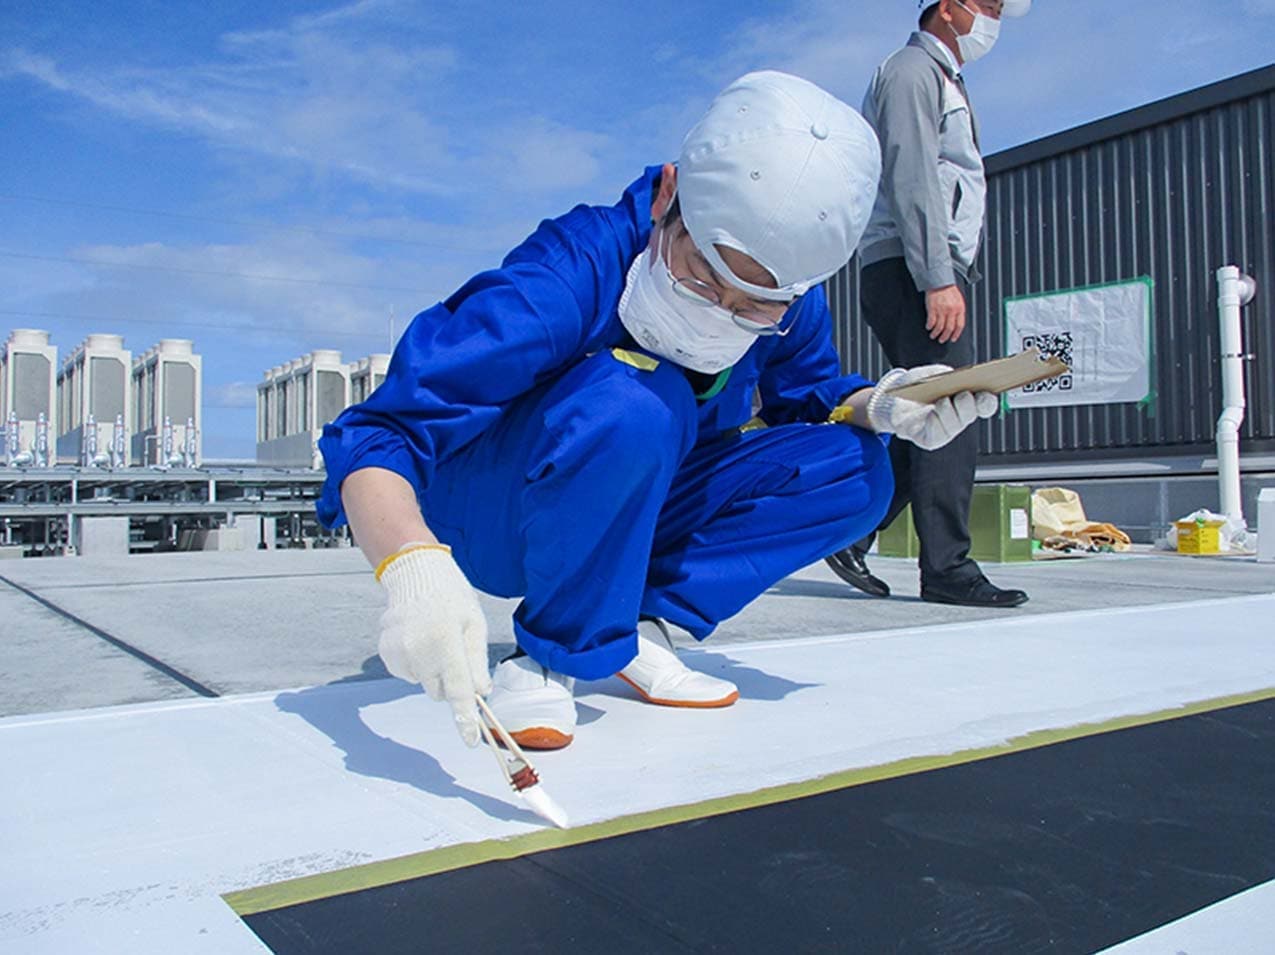
        After the black painting, we painted white paint that was peeled off with the tape.
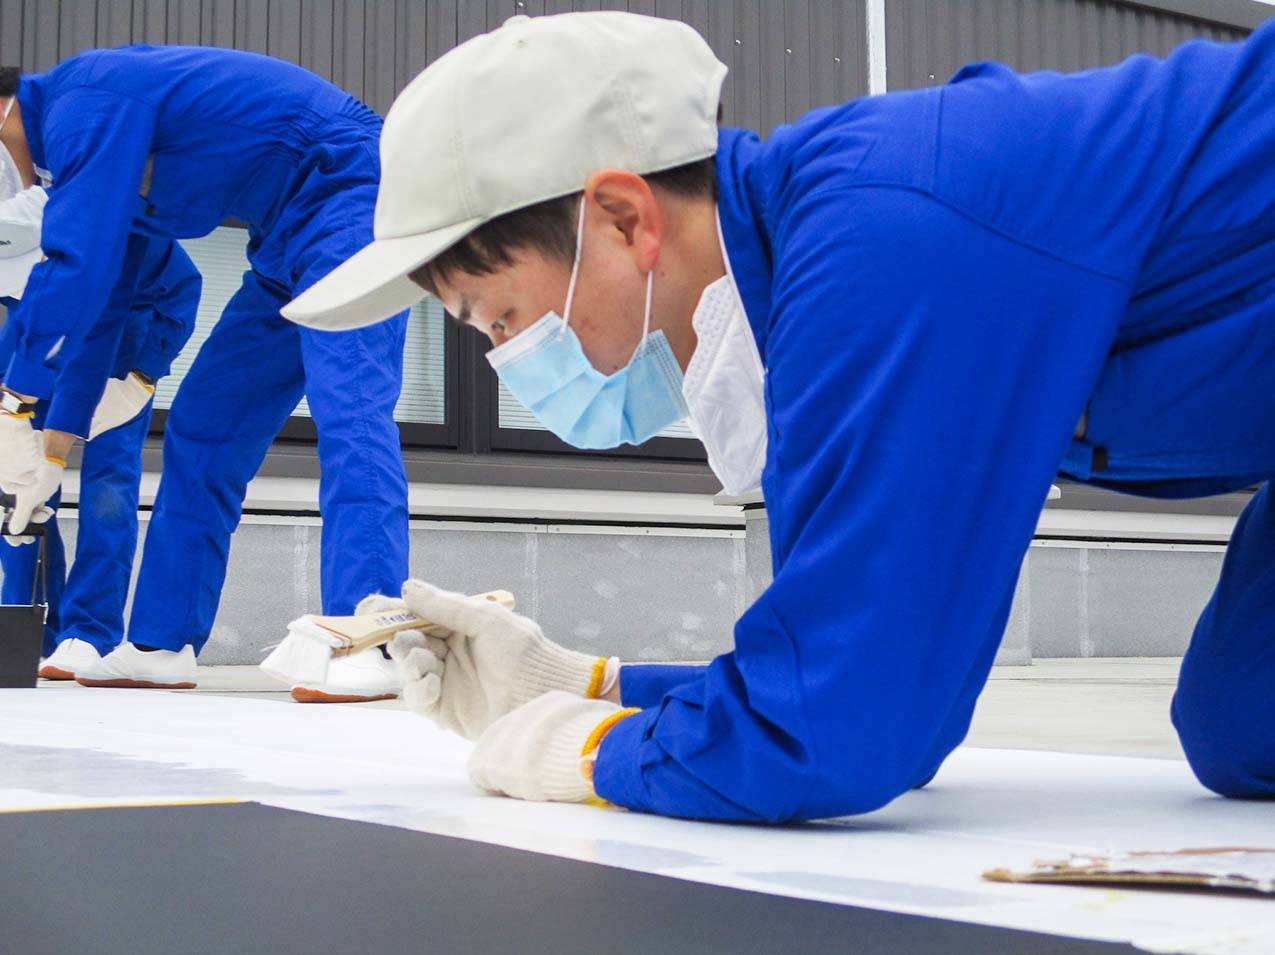
        We used a brush to make the final touches, and the QR code looked even more beautiful.

        • Painting scene (1)
          Painting scene (1)
        • Painting scene (2)
          Painting scene (2)
        • Painting scene (3)
          Painting scene (3)
        • Painting scene (4)
          Painting scene (4)
        • Painting scene (5)
          Painting scene (5)
        • Repainting with a brush (1)
          Repainting with a brush (1)
        • Repainting with a brush (2)
          Repainting with a brush (2)
        • Repainting with a brush (3)
          Repainting with a brush (3)
        • Peeling the masking tape (1)
          Peeling the masking tape (1)
        • Peeling the masking tape (2)
          Peeling the masking tape (2)
        • Completion
          Completion

          Drone aerial photography

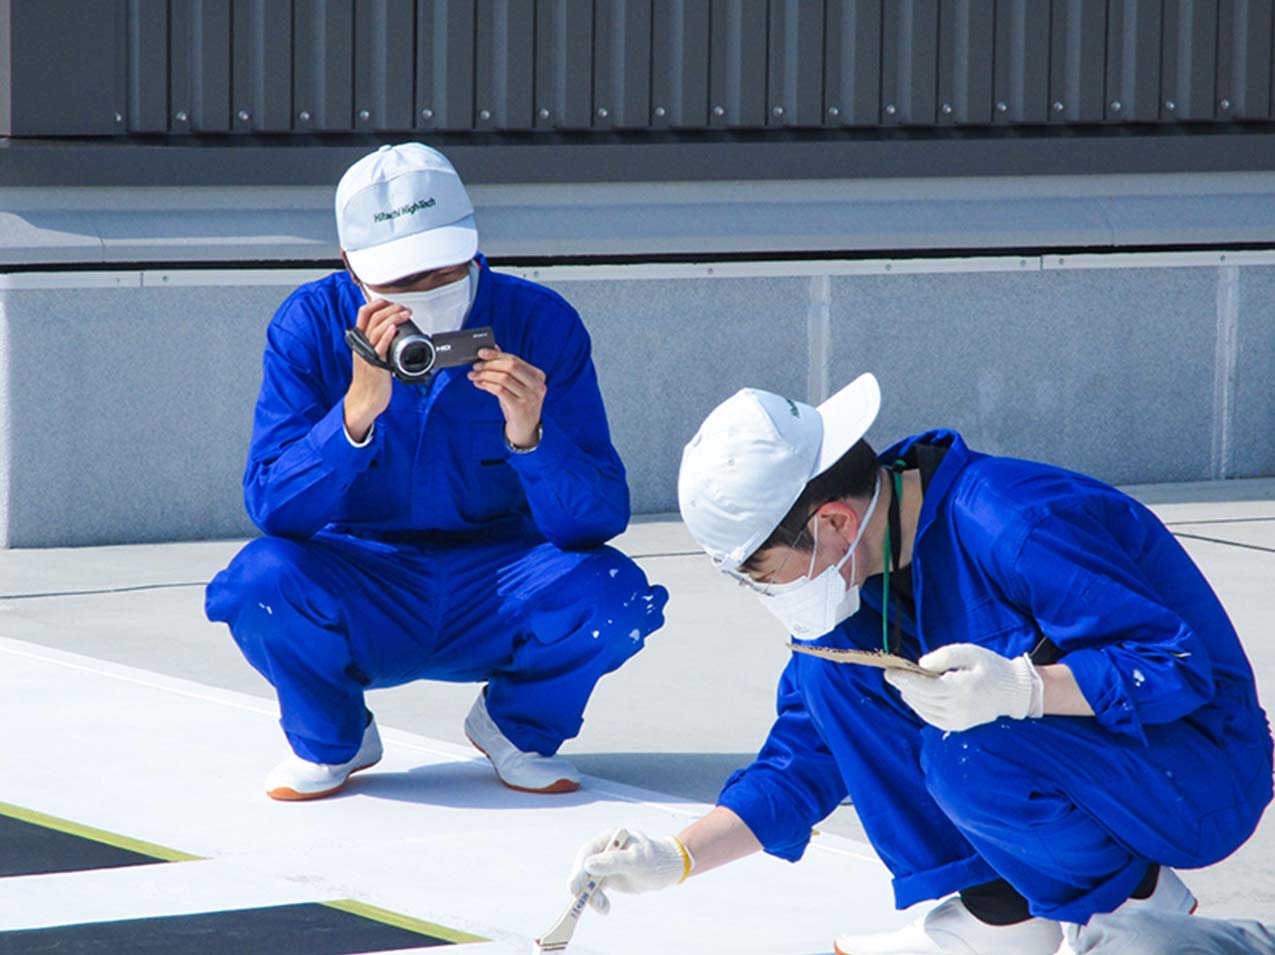
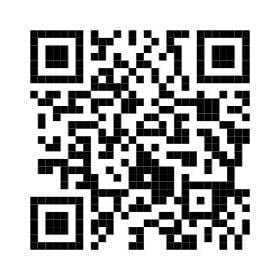
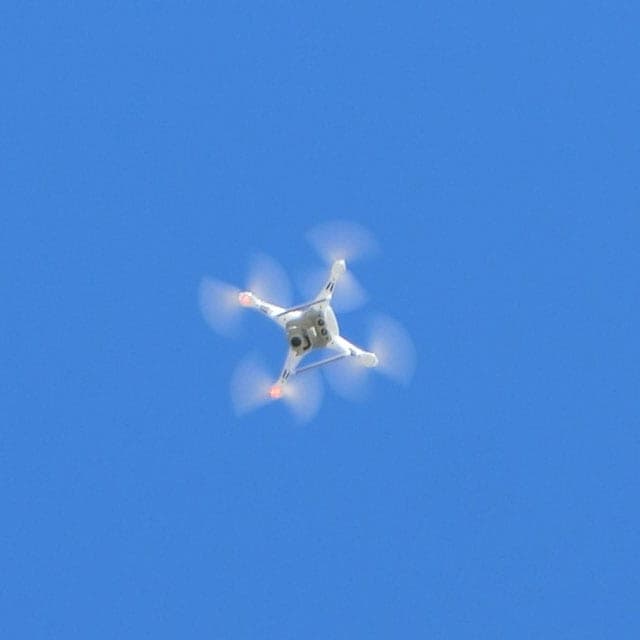
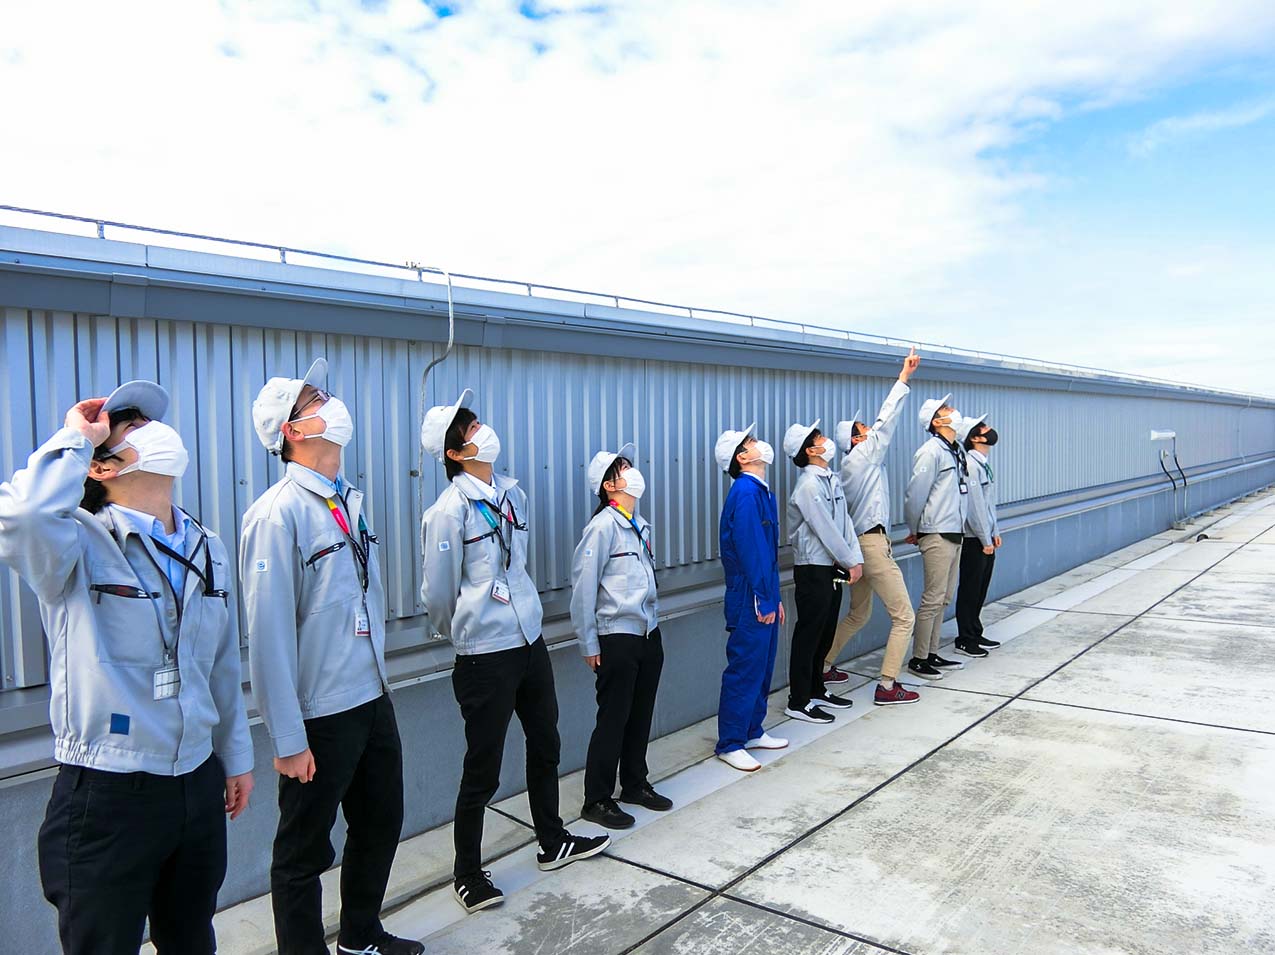
          After making the QR code, we took an aerial shot with a drone.
          When we checked if the QR code taken at this time could be read, we were able to access the Hitachi High-Tech website.

          Drone photo session

          We succeeded in reading the code from aerial photos!

          Completion

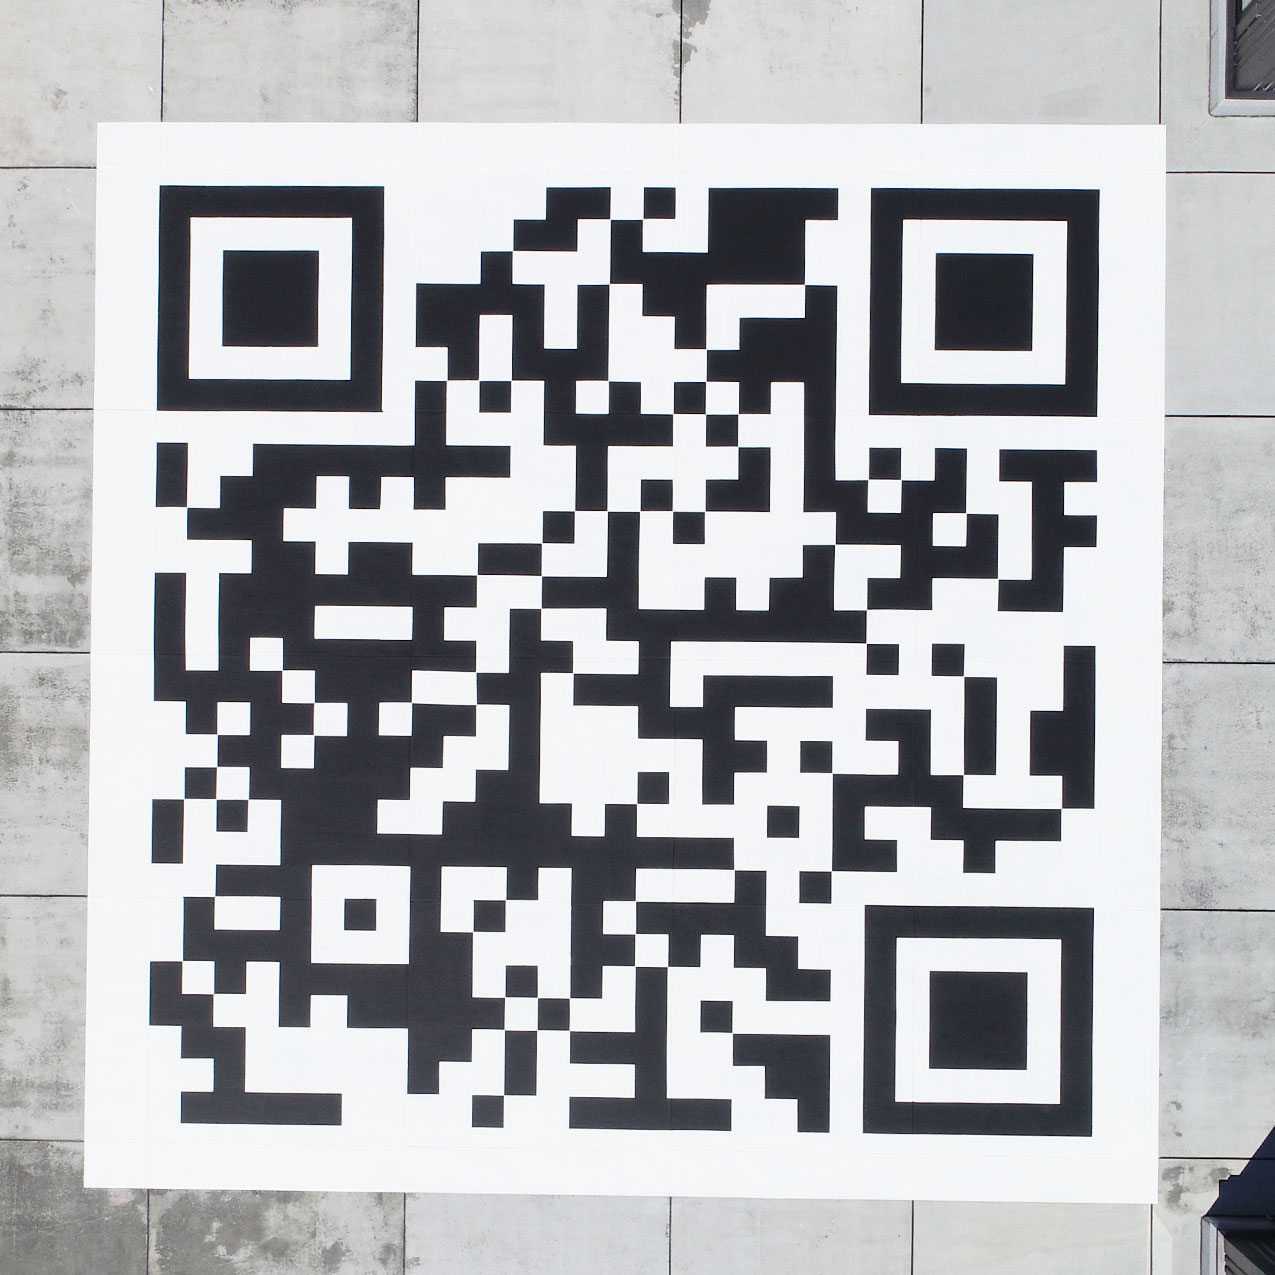
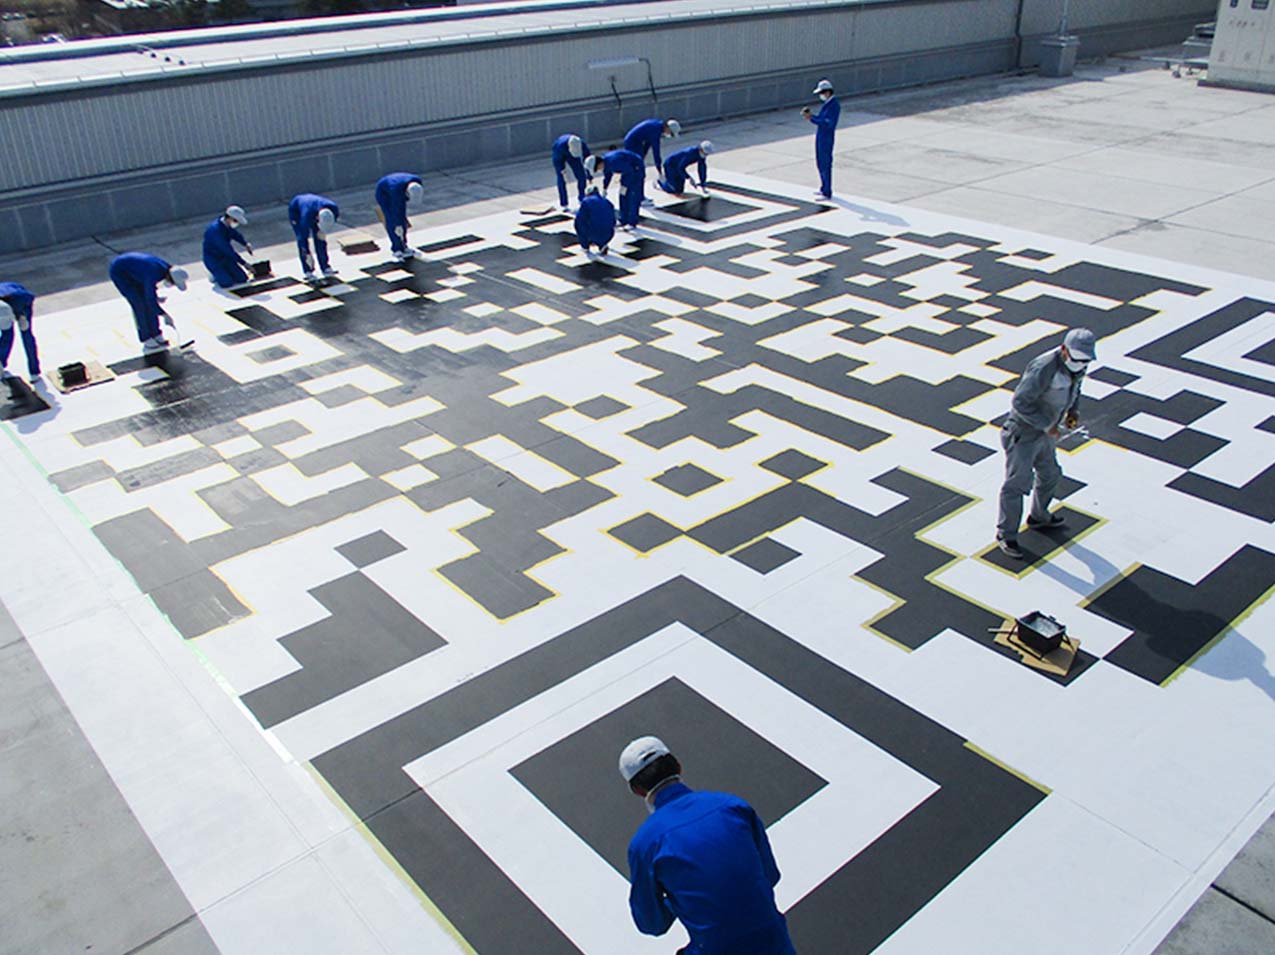
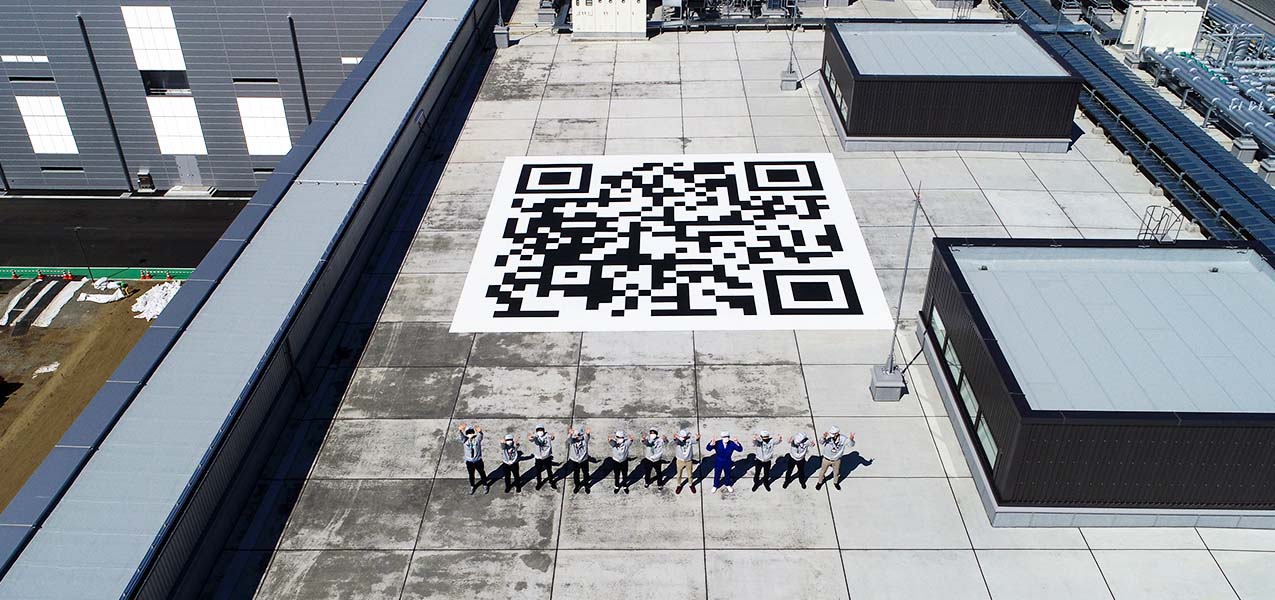
          Finally, the work was completed on March 15, 2021! A giant QR code of 13.2 m x 13.2 m was drawn on the roof.

          Finally, the work was completed on March 15, 2021! A huge QR code of 13.2 m x 13.2 m was drawn on the roof.

          Project QR - Naka-Marine Site Completion Commemoration -
          Digest movie

          PLAY MOVIE

          ※“QR Code” is a registered trademark of DENSO WAVE.

          Back to Top